RC electronics troubleshooting: a practical checklist guide for makers
RC electronics troubleshooting can be straightforward when approached as a systematic checklist rather than a guesswork exercise. This guide targets hobby builders working on cars, planes, boats and quadcopters and assumes basic familiarity with components such as batteries, ESCs, servos, receivers and flight controllers. The goal is to help you isolate faults quickly and reduce time spent replacing parts unnecessarily. Safety, methodical checks and basic tools are the underlying themes of the checklist that follows.
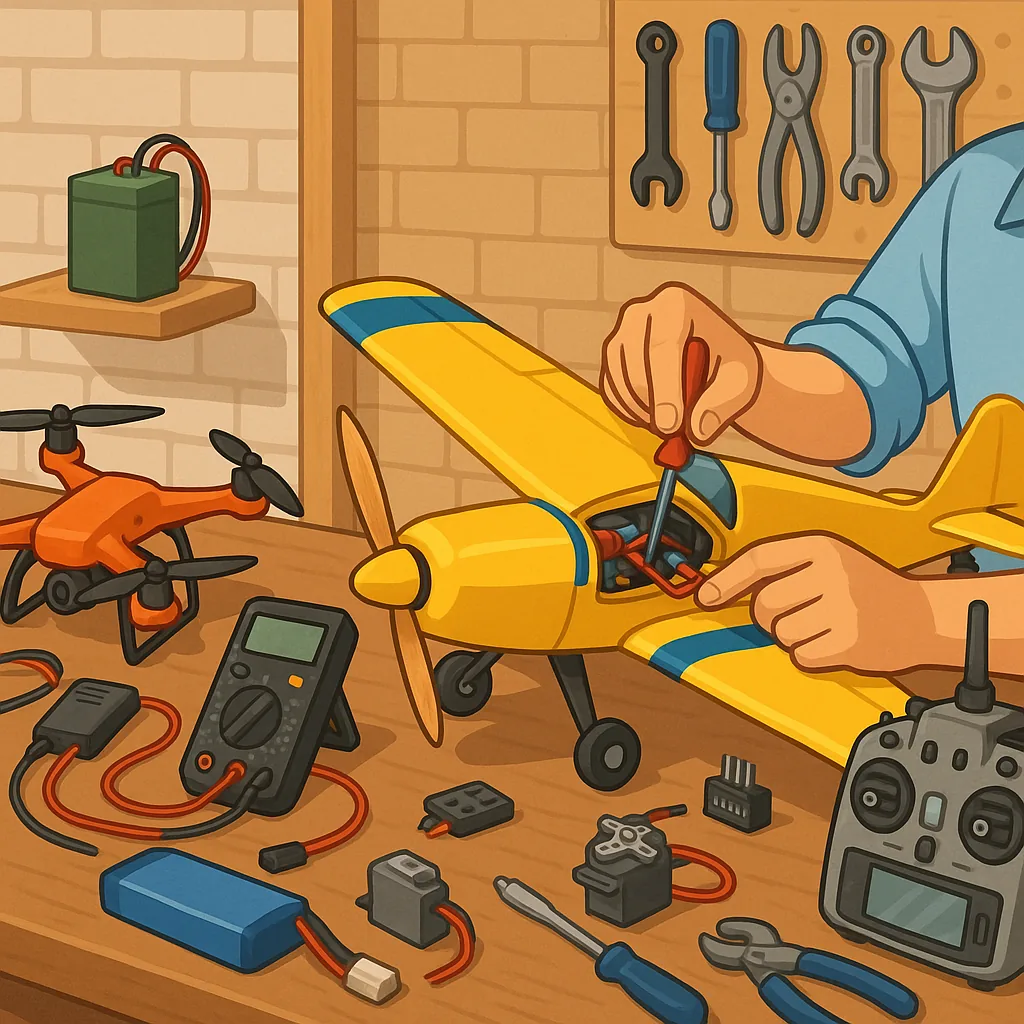
Start with safety and a clear workspace before you power anything up. Remove propellers or rotate control surfaces so that motors cannot start under load. Have a charged multimeter, a small soldering iron and basic hand tools to hand. Keep liquid contact cleaners, spare connectors, and heatshrink tubing available for small repairs. Use a smoke stopper or current-limited bench supply when bench-testing power systems so a short circuit does not cause further damage. Document what you change so you can revert to the original state if needed.
- Visual inspection: look for burnt components, swollen capacitors, melted insulation or cracked solder joints.
- Connector and wiring check: wiggle test plugs, reflow any suspect solder joints, and ensure correct polarity on battery leads.
- Battery health: measure open-circuit voltage, check internal resistance where possible, and test under load to confirm capacity.
- Receiver and transmitter: verify correct binding, battery voltage to the receiver and that failsafe behaviour is set.
- Esc and motor: test ESC calibration, check motor spin direction and measure motor coil resistance for shorts or opens.
- Servos and actuators: inspect mesh, test with a servo tester or transmitter, and swap with a known good unit to isolate issues.
Power problems are among the most common causes of RC faults and should be tackled early in the checklist. Confirm battery voltage and health, paying attention to under-voltage under load and balance between cells on multi-cell packs. Use a bench supply with current limiting to revive electronics without risking a battery. Check BEC or UbEC outputs for stable voltage and adequate amperage for servos and receivers. Replace any connectors or leads that show high resistance or heat during operation. If voltage droop appears only under high load, suspect wiring, connectors or a weak battery pack rather than the ESC itself.
Signal and control issues require methodical isolation of radio, receiver and peripheral components. Bind the transmitter and receiver freshly and verify channel mapping and end points. Where possible, replace the receiver with a spare unit or connect the receiver to a ground test servo to verify output signals. For flight controllers and ESCs, check telemetry and logging features to retrieve error codes and alarms. Ensure firmware versions are supported and calibrated settings such as ESC timing, governor modes and motor direction are correct. Swap components one at a time to pinpoint the faulty module.
Electrical noise and grounding can create intermittent or subtle faults that mimic hardware failure. Verify that signal grounds are common and that high-current traces are kept away from sensitive analogue or digital lines. Add decoupling capacitors across power rails where necessary and use twisted pair wiring for motor leads if interference is suspected. Revisit solder joints for cold joints and inspect pads for lifting. If intermittent problems persist under vibration, consider securing loose boards with foam or a low-shock adhesive and replacing connectors that vibrate loose. For more builds and experiments, visit my main RC projects page.
A tidy record of tests, voltages and component swaps shortens troubleshooting time and informs repair decisions. Note measurements before and after each change and mark components that are known good or replaced. If a module is beyond economical repair, plan for a controlled replacement and salvage reusable parts such as motors or housings. For more Maker & DIY resources and project notes that can help you with parts, methods and safety practices visit the Maker & DIY tag on Build & Automate. Follow the checklist mentality on future builds to reduce downtime and improve the reliability of your RC projects.
Comments
Post a Comment