ESP32 beginner projects checklist guide for quick starts and steady learning
If you are new to the ESP32 and want a practical road map, this checklist guide will help you pick and complete a series of ESP32 beginner projects in a sensible order, from the simplest blink tests to networked sensors and small automation tasks. The aim is to keep each step actionable so you can learn core techniques such as flashing firmware, reading sensors, connecting to Wi‑Fi, and handling power without feeling overwhelmed. Treat the checklist as a sequence you can pause and return to, and let each completed mini‑project build confidence for the next one.
Start by gathering the essential hardware and tools before soldering or wiring anything, since missing items are the most common blockers for beginners. At a minimum you will want a genuine ESP32 development board, a reliable micro USB cable, a breadboard, a set of jumper wires, a few LEDs and resistors, and a basic sensor such as a DHT11 or DHT22 for temperature and humidity tests. If you intend to work with Wi‑Fi features or Bluetooth, include an adequate 5V power supply that can deliver at least 1 amp to avoid resets during network activity. For local project ideas and parts lists see the Maker & DIY category on this site at the Maker & DIY page.
- Genuine ESP32 dev board with labelled pins for easy identification.
- Quality micro USB cable that supports data transfer rather than charge only.
- Breadboard and jumper wires for prototyping without soldering.
- LEDs, resistors (220Ω to 1kΩ), and at least one button for input testing.
- Basic sensors such as DHT11/DHT22 for environmental readings.
- Stable 5V supply rated for 1A or more for Wi‑Fi projects.
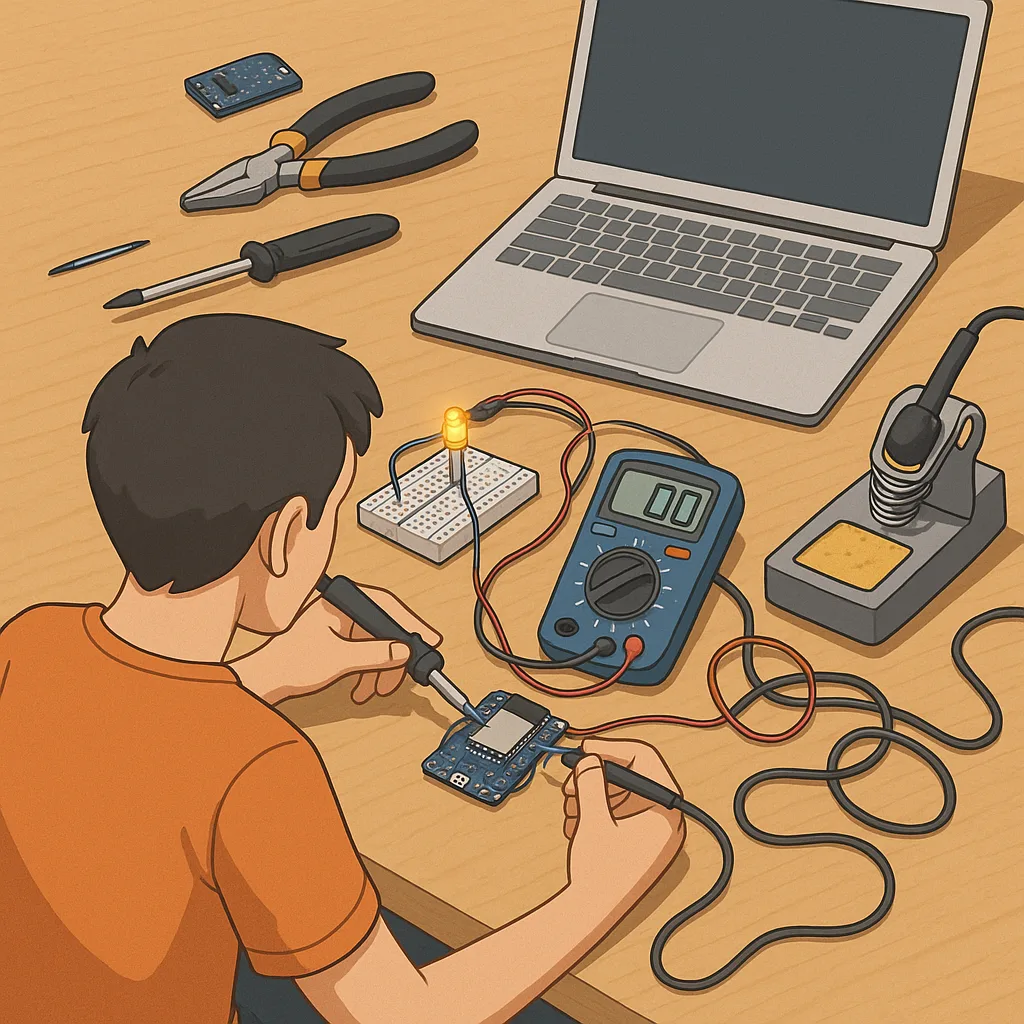
Once you have parts in hand, follow a progression of projects that teach foundational skills without introducing too many variables at once. First, upload a blink sketch to verify your toolchain and cable are working and to confirm which board is selected in your IDE. Next, test serial communication by printing simple messages and reading them in the serial monitor at 115200 baud. Then attach an LED and a button to practise digital output and input, and move on to reading an analogue sensor to learn about ADC behaviour and voltage reference issues. Each small project isolates a single new concept so you can diagnose problems quickly.
After completing the basics, move to networked projects that demonstrate the ESP32’s strengths. Try connecting the board to your home Wi‑Fi network and perform a simple HTTP GET request to a known endpoint, or host a tiny web page to display sensor values. For Bluetooth, a basic BLE peripheral that advertises a single characteristic is a useful first build because it familiarises you with pairing and characteristic read operations without complex profiles. If you combine a sensor with a web interface you will learn how to format JSON and manage timing so the device remains responsive under load.
Troubleshooting is an essential part of the checklist and benefits from a methodical approach to problems. If uploads fail, check the USB cable and try a different port or a powered USB hub; inspect device manager or system profiler to confirm the serial port appears; and verify you have installed the correct CP210x or CH340 drivers for your board. When sketches reset unpredictably, suspect power issues, brownouts, or watchdog timers and use simpler code to reproduce the fault. Use serial debug prints liberally to trace program flow and measure timings accurately rather than guessing where a bug lives.
On the software side, pick a single development environment to begin with and extend only once you are comfortable, since switching toolchains can add confusion. Many beginners start with the Arduino core for ESP32 because libraries and examples are plentiful, then explore MicroPython for concise scripting or ESP‑IDF for production work and deeper control. Keep libraries up to date and read release notes where possible, and structure code in modular functions so you can reuse sensor drivers across projects. Also create a simple version control habit, even a local folder with dated backups, so you can revert to a working state if an experiment breaks things.
Finish each project with a brief checklist: verify stable power, confirm network credentials are not hardcoded in public firmware, document pin mappings and library versions, and run the device continuously for at least 24 hours to surface intermittent faults. Consider enclosure and mounting as part of the build so you learn safe wiring and strain relief techniques early on. Use the lessons from each completed item as the criteria for moving to the next, and keep a small notebook of what worked and what did not so future troubleshooting is quicker and less frustrating. For more builds and experiments, visit my main RC projects page.
Comments
Post a Comment