Practical guide to basic soldering and wiring reliability
Reliable soldering and wiring are the foundation of any successful electronics or maker project, whether you are building a simple LED circuit or repairing a motor controller. This guide gives a step-by-step approach to common soldering tasks and wiring techniques that improve durability and reduce intermittent faults. The aim is to help a beginner achieve consistent results by focusing on preparation, correct technique and a few simple checks that catch most problems before they leave the workbench. Follow the steps in order to build good habits and to make later troubleshooting far easier.
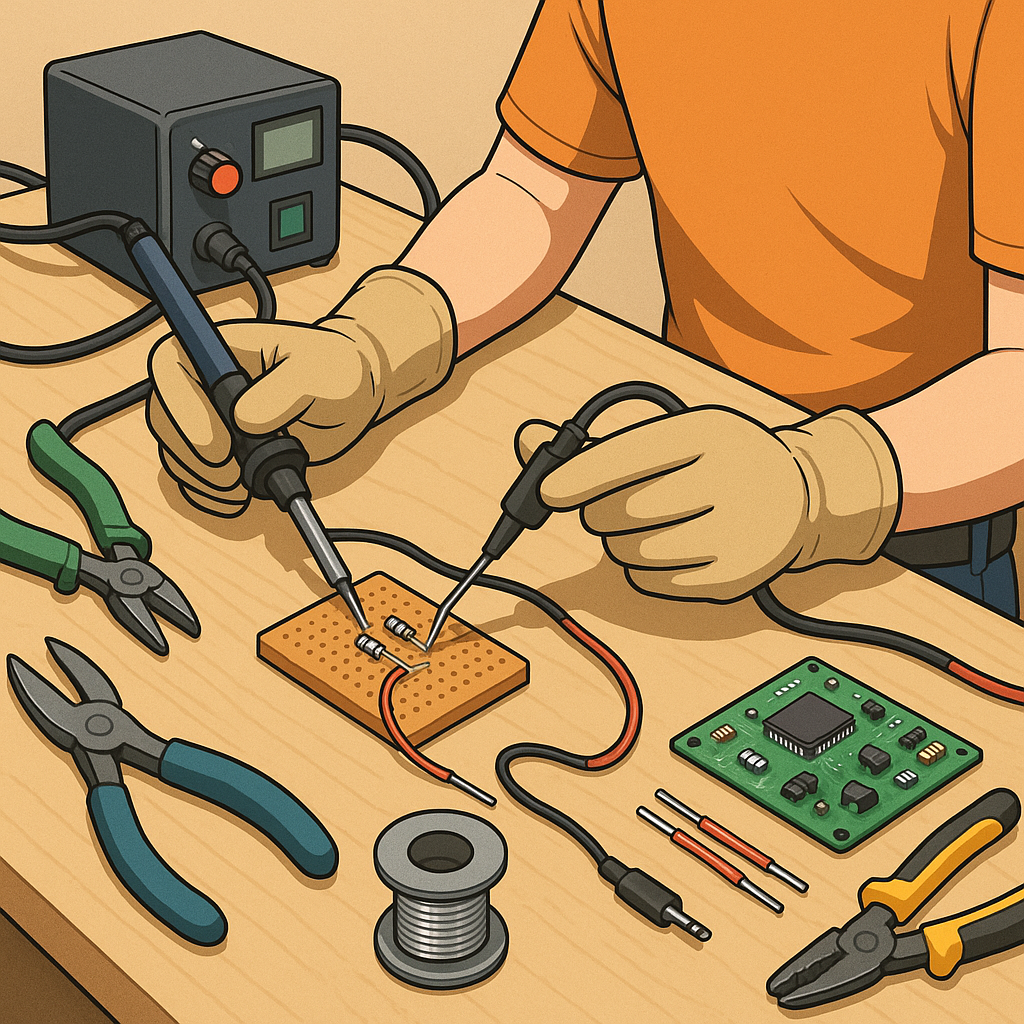
Before you begin, assemble the right tools and consumables to avoid improvising with unsuitable items. Good preparation saves time and prevents bad joints that lead to failures away from the bench. Make sure you have a steady work surface, adequate lighting and some basic safety items so you can work confidently and cleanly.
- Soldering iron with adjustable temperature and a clean fine tip.
- Leaded or lead-free solder, 60/40 or 63/37 for easier wetting when available.
- Flux or a flux-cored solder and a small brush for soldering joints that need cleaning.
- Wire strippers, cutters and a set of small pliers for holding components.
- Heatshrink sleeving, sleeving adhesive or cable ties for strain relief.
- Multimeter for continuity and resistance checks, and optionally a small magnifier or lamp.
Start each joint by preparing the conductor and the pad or terminal. Strip the insulation cleanly to the correct length and avoid nicking the conductor strands. Twist stranded wire gently to keep strands together and tin the tip of the wire lightly with solder so the strands cannot splay when heated. If soldering to a printed circuit board, clean the pad with isopropyl alcohol if contaminated and apply a small amount of flux to promote wetting. Heat the joint, not the solder, by placing the iron tip so it contacts both the pad and the wire or component lead simultaneously so heat flows into both parts before feeding solder to the heated surfaces.
Perform the actual soldering in a controlled sequence to produce a shiny, concave fillet that fully covers the joint without excess solder. Heat the joint until the solder flows freely and wets the surfaces, then withdraw the solder and remove the iron while holding the joint steady until the solder solidifies. Avoid moving the joint while cooling to prevent a cold joint that looks dull and may crack. If you make a mistake, use desolder braid or a pump to remove the solder and start again after cleaning. For repeatable results, set the iron temperature to the lowest setting that allows rapid wetting of the surfaces to limit heat damage to components and surrounding insulation.
Make wiring mechanically robust before relying on the solder to carry strain. Add a short length of heatshrink across the joint and slide it over before soldering where possible to provide insulation and strain relief once shrunk. Anchor heavier cables to a chassis or support point so movement does not stress the soldered termination. Use correct wire gauge for the expected current and avoid multiple conductors in a single small pad unless the pad is designed for it. Where connectors are used, crimped terminals are preferable to soldered ones for frequent mating cycles, because solder can wick into the crimp and make the joint brittle over time.
Inspect and test each joint before declaring the job complete. Visually check for a smooth, shiny finish and adequate fillet shape, then use a multimeter to confirm continuity and look for unintended shorts. Gently flex the wire near the joint to confirm that any strain relief is effective and that the solder has not formed a weak point. If a joint fails inspection, rework it immediately rather than adding more solder. For ongoing projects and further straightforward maker guidance see the Maker & DIY label on this site for complementary tutorials and examples that reinforce these basic techniques. For more builds and experiments, visit my main RC projects page.
Comments
Post a Comment