Practical tips for basic soldering and wiring reliability in maker projects
Reliable soldering and wiring are the foundations of any durable electronics project, whether you are building a sensor node, repairing a toy or creating a bespoke automation device. This guide focuses on practical tips and tricks that improve joint strength, electrical continuity and long-term performance while keeping the work safe and repeatable. The techniques below assume basic tools and typical PCB and stranded wire work, and they are organised so you can apply them at the bench immediately.
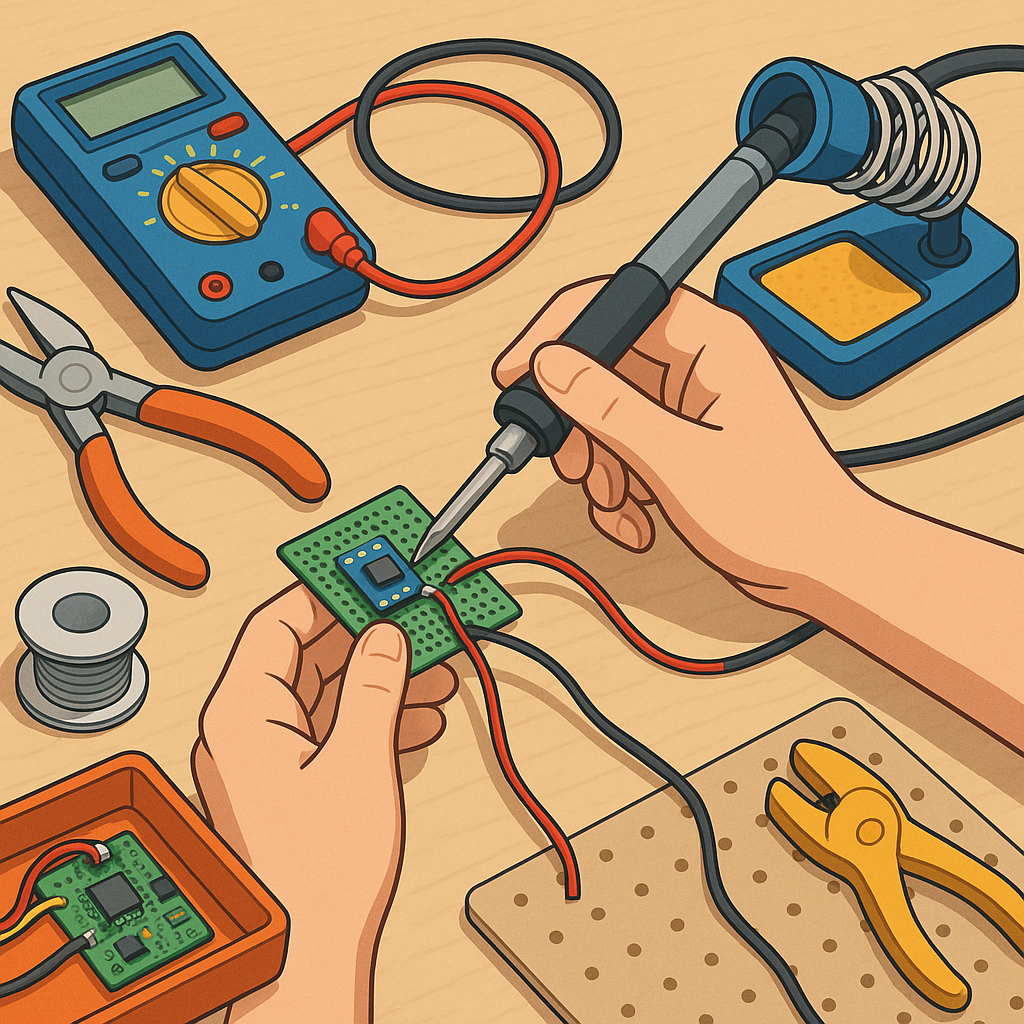
Start with the right tools and a tidy workspace to make consistent joints easier to achieve. A temperature-controlled soldering iron with interchangeable tips is worth the investment because heat control prevents damage to components and circuit boards. Use a grounded iron for sensitive electronics and keep a stable iron stand and damp sponge or brass wool for tip cleaning. Wear eye protection and provide simple fume extraction, such as a small fan or a window, to reduce exposure to flux fumes.
Preparation is more important than rushing straight to soldering. Strip wires to expose enough conductor for a solid connection but not so much that insulation is compromised. Twist stranded wires and tin them lightly before joining, applying a small amount of flux to improve wetting where appropriate. Clean pads and component leads of oxidation with isopropyl alcohol or a fiberglass pen, and choose solder that suits your project; leaded 60/40 solder flows more readily, while lead-free solders require slightly higher temperatures and a bit more technique.
The correct soldering technique reduces the risk of cold joints and brittle connections. Heat the parts of the joint, not just the soldering iron tip, by placing the tip so it contacts the pad and the lead simultaneously. Feed solder to the heated metal surface until it flows and forms a smooth fillet; remove the solder first, then the iron, allowing the joint to cool undisturbed. Avoid overheating components and limit contact time, and rework questionable joints by reheating and adding a little fresh solder and flux rather than forcing repairs blindly.
Wiring reliability goes beyond the solder joint itself and includes mechanical support and protection. Use proper strain reliefs, cable clamps or adhesive anchors to prevent repeated flexing at solder points. For high-vibration environments, prefer crimped and sealed terminals for mechanical strength, and use solder only where movement is prevented or where the joint is protected. Apply heatshrink tubing over soldered joins for insulation and gradual strain distribution, and consider braided sleeving or grommets where cables pass through sharp edges or panels.
- Checklist for a reliable joint: clean contact surfaces before soldering.
- Checklist for a reliable joint: use the correct iron temperature and allow proper heating time.
- Checklist for a reliable joint: feed solder to the heated metal, not to the iron tip.
- Checklist for a reliable joint: inspect the shiny, concave fillet for good wetting and no gaps.
- Checklist for a reliable joint: provide strain relief and final insulation with heatshrink.
Testing, inspection and documentation finish the job and save time later. Use a multimeter to check continuity and to detect unintended shorts, and visually inspect joints for dull surfaces, cracks or sparse solder coverage which indicate a cold joint. Give assemblies a gentle mechanical stress test by flexing wires near joints to ensure strain relief is effective. Photograph and label connections where helpful, and keep a short build note about solder type, iron temperature and any special treatments used for future maintenance and repeatability. For more hands-on projects and project examples in the same category see the Maker & DIY label on this site. For more builds and experiments, visit my main RC projects page.
Comments
Post a Comment