how to set up a home server safely
Setting up a home server can give you private storage, personal cloud services and a platform for experimentation, but doing so safely requires planning and ongoing care. This guide takes you through a step-by-step process from picking suitable hardware to maintaining security and backups so that you reduce risk and keep services reliable. The instructions are written for a home environment and assume you will not be running high-risk services that attract frequent attacks, but the principles apply to most small deployments.
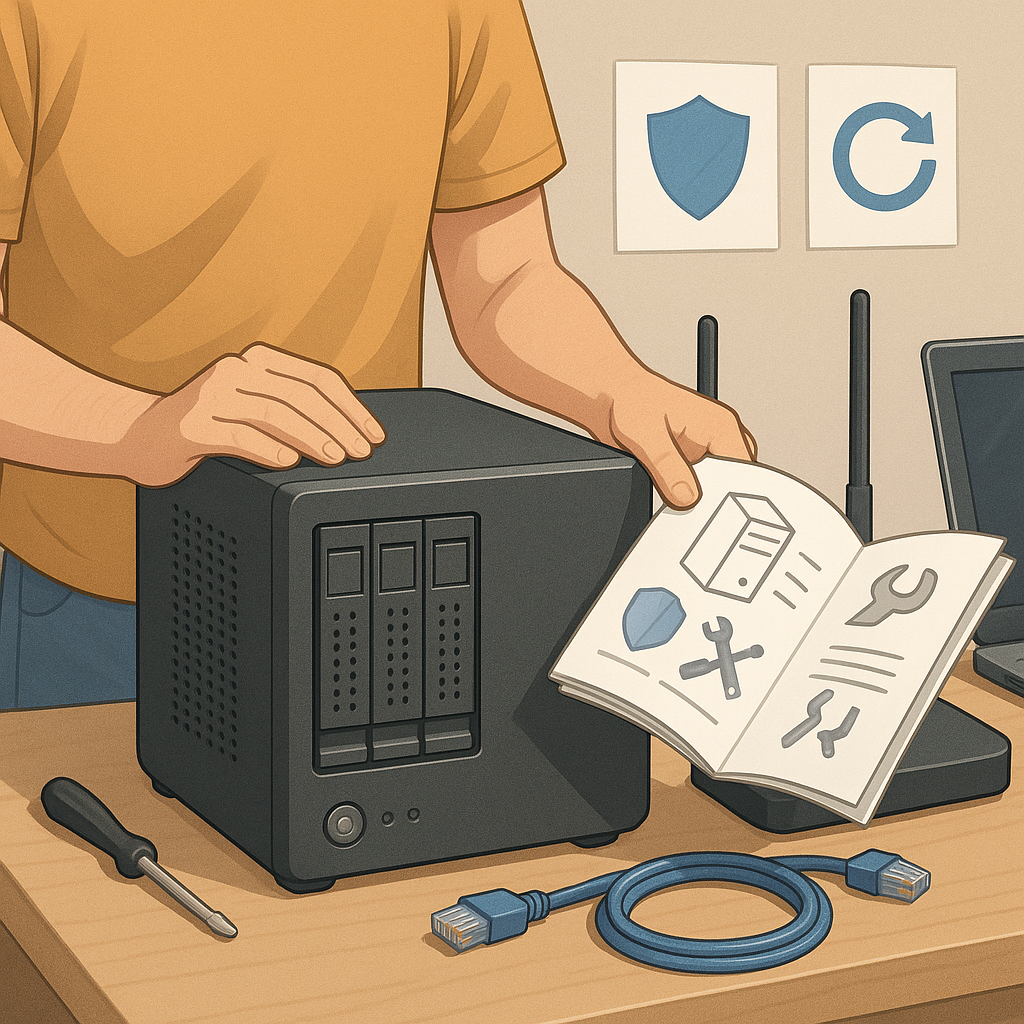
Step 1 is to choose the right hardware and location for your server. For most home use a compact device such as a small form factor PC or a mini server will do, and single-board computers like Raspberry Pi are suitable for light services, while a refurbished NUC or tower is better for heavier workloads. Consider drive types and redundancy, favouring at least one large SSD for speed and optionally a HDD for bulk storage, or a RAID configuration for redundancy if data availability is critical. Place the server in a well-ventilated, low-dust area with a reliable power source and consider a UPS to guard against sudden outages and data corruption.
Step 2 covers network design and perimeter defences. Give the server a static IP address or a DHCP reservation on your router so services remain reachable within your network. Avoid exposing services directly to the internet where possible by using a VPN, secure tunnel or reverse proxy, and disable UPnP on your router to prevent automatic port openings. If your router supports VLANs or guest networks, isolate the server on a dedicated network segment to limit lateral movement from other devices on your home network. Configure firewall rules on both the router and the server to allow only the necessary ports and protocols.
Step 3 is about the operating system and basic hardening. Use a minimal, well-supported OS distribution and keep the installation lean by avoiding unnecessary packages. Create a non-root administrative user and lock the root account where possible, enable automatic security updates or set a regular update schedule, and configure SSH for key-based authentication while disabling password login. Add intrusion protection such as fail2ban and enable a host-based firewall like UFW or nftables with a default deny policy. Typical services you might run include the following list which helps you plan resource allocation and port usage.
- File sync and sharing (for example personal cloud software).
- Media streaming services and transcoding tools.
- Backup targets and automated snapshot tools.
- DNS, DHCP or personal development platforms.
- VPN server for secure remote access.
Step 4 focuses on secure remote access and TLS. For any service that must be available over the internet, terminate HTTPS at a reverse proxy and obtain certificates to ensure traffic is encrypted and authenticated. Use modern TLS settings and disable older, insecure ciphers, and consider automated certificate renewal to avoid service downtime. Avoid exposing administrative interfaces to the public internet; instead, place them behind a VPN or require multi-factor authentication where supported. When configuring remote access, log all connections and consider rate limiting to reduce the chance of brute-force attacks.
Step 5 covers backups, monitoring and recovery planning. Implement a backup strategy with versioning and off-site copies so that a local hardware failure or ransomware attack does not permanently destroy data, and test restores regularly to verify backups are usable. Monitor system health with basic alerts for disk space, temperature, CPU and memory usage, and use SMART reporting for drives to spot failing hardware before it is critical. Keep logs for security auditing and set up simple automated scripts to rotate and archive logs to avoid filling storage.
Finally, establish a maintenance routine and final checklist to keep operations safe and predictable. Document user accounts, credentials stored securely, update procedures and how to recover from common failures, and review access logs periodically to spot unusual behaviour. If you want further practical how-to articles about servers and home lab projects, see the related collection on Build & Automate. With a clear plan, regular updates and sensible isolation, a home server can be a secure and useful addition to your home network. For more builds and experiments, visit my main RC projects page.
Comments
Post a Comment