Troubleshooting guide to basic soldering and wiring reliability in small projects
Reliable soldering and wiring are the foundations of any successful maker or DIY electronics project, and this troubleshooting guide focuses on the common failures and practical fixes that save time and prevent repeat work.
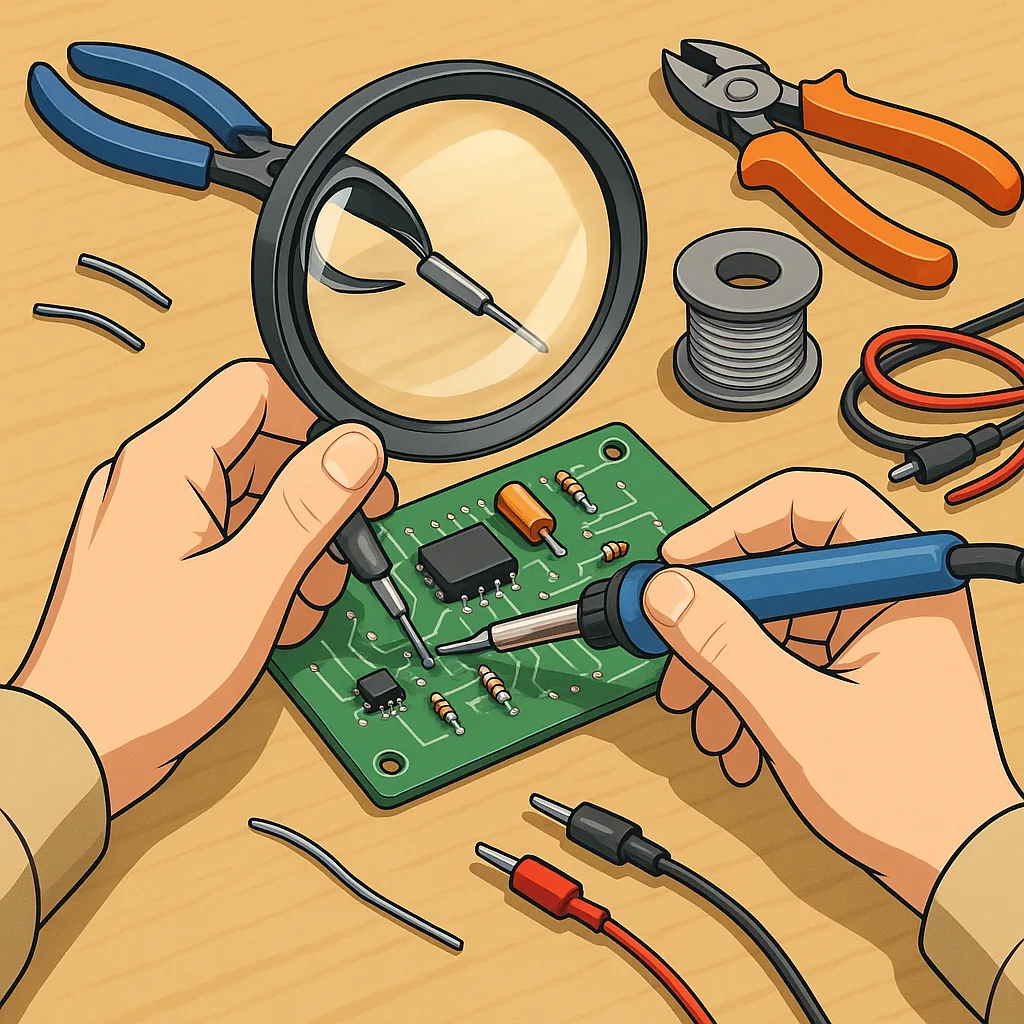
Start with a careful visual inspection under good light and, if possible, a magnifier or loupe to look for dull, grainy, or cracked solder joints, lifted pads, wire insulation damage and enamel that has not been removed from magnet wire, as these visible cues often point directly to the root cause of intermittent behaviour or total failure.
Check your tools and consumables before reworking anything, because many reliability problems stem from worn tips, the wrong solder alloy or contaminated flux residues, and using a temperature that is either too low to make a good wetting bond or too high and therefore damaging components or lifting pads; a temperature-controlled iron with a clean, well-tinned tip is the simplest way to eliminate tool-related variables.
- Cold joints that look frosty, which result from poor heat transfer or moving the joint while it solidifies.
- Solder bridges or shorts caused by excess solder or poor flux control on fine-pitch components.
- Broken strands or insufficient tinning on stranded wire, which produce intermittent contact under mechanical stress.
- Poor strain relief where stress is taken by the solder joint rather than a mechanical clamp or knot.
When you identify a fault, isolate it and recreate the failure mode so you can verify the repair, because random rework without a repeatable test often hides lingering issues; for example, perform a wiggle test while monitoring continuity or function to reveal intermittent connections, and use a multimeter or bench supply to check voltage drops and current draw for signs of elevated contact resistance.
Reworking a suspect joint requires a methodical approach: remove old solder with wick or a small pump, clean the pad and component lead with fresh flux if needed, apply heat to the component and pad simultaneously and feed solder so it flows and wets both surfaces, then allow the joint to cool without movement, and finally mechanically secure wires with knots, adhesive or heat-shrink to keep strain off the solder, as prevention is as important as correction for long-term reliability and tidy assemblies can prevent future faults, and for other hands-on articles in the same category see the Maker & DIY label to expand your practical skills. For more builds and experiments, visit my main RC projects page.
Comments
Post a Comment