Troubleshooting basic soldering and wiring reliability.
When a compact project fails intermittently or a cable connection shows signs of heat or mechanical wear, the problem is often simple to find and fix with a structured approach to basic soldering and wiring reliability. This guide walks through inspection, diagnosis and repair steps you can use on hobby boards, small controllers and tidy wiring harnesses in home projects. Work methodically and treat each symptom as a clue rather than jumping straight to replacement, because many faults are repairable and repeatable once you understand the cause.
Start with a visual and mechanical inspection to catch the obvious issues before powering the circuit. Look for dull or grainy solder joints, visible cracks at the wire termination, lifted pads, solder bridges between pads and burnt insulation on wires. Gently wiggle connectors and wires while observing continuity or power behaviour to reveal intermittent faults caused by poor mechanical contact. Check for corrosion, loose screws on terminal blocks and any signs of overheating on components and PCB traces.
- Cold joint: dull, uneven solder with a ragged edge and poor wetting of pad or wire.
- Solder bridge: stray solder connecting adjacent pads or pins causing shorts.
- Broken strand: a single stranded wire that has broken inside the insulation.
- Poor wetting: solder sitting on top of a part rather than flowing to form a fillet.
- Insulation melt: heat damage to cable insulation from excessive soldering time.
Use simple tests to narrow down the fault once inspection has given you candidates. A multimeter set to continuity is ideal for finding open connections and intermittent contact while wiggling wiring to reproduce failures. Measure resistance across joints under a known current if precision is required, and check voltage at points under load to see if a drop appears when the fault is exercised. If heat is suspected, carefully warm the joint with the iron or a hair dryer to see whether the behaviour changes, because thermal expansion can expose cold or cracked joints.
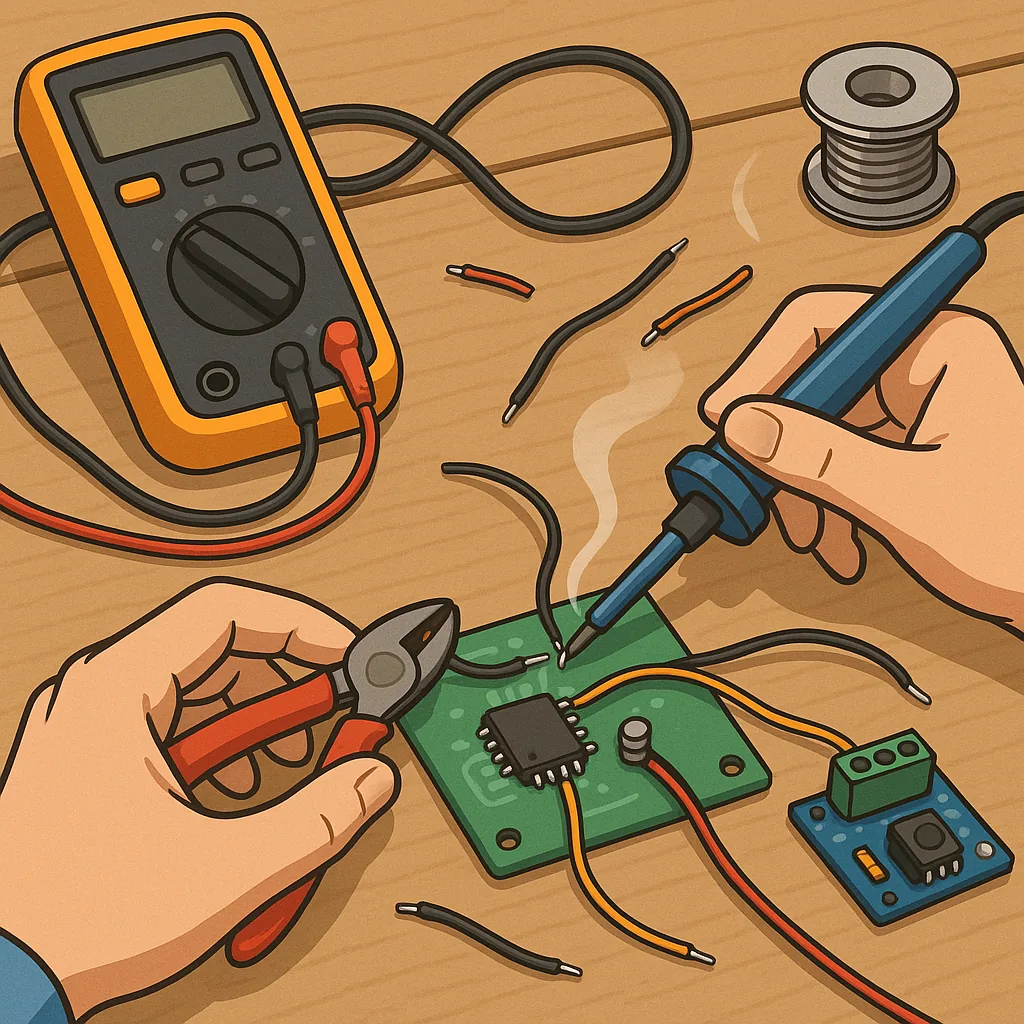
When you rework a joint, follow proven soldering technique to avoid repeating the problem. Clean the pad and wire, apply flux to improve wetting, and use a soldering iron with an appropriate tip size and temperature for the job. Heat the pad and the component lead or wire together, then feed solder to the heated joint so it flows and forms a smooth fillet, not onto the iron tip alone. Remove excess solder with braid or a pump, and avoid prolonged heating of the component by applying heat only until the joint flows. Clean flux residue if it is corrosive or conductive to maintain long-term reliability.
For wiring reliability in moving or vibrating environments, the mechanical approach is as important as the solder. Use crimp terminals or ferrules on stranded wire where possible because crimped terminations are generally more tolerant of vibration than a soldered strand, which can become brittle and break at the stress point. Add strain relief such as cable ties, clamps or adhesive anchors close to the termination to keep mechanical loads out of the joint. Choose correct wire gauge for the current and avoid excessive solder that can wick and stiffen the cable, concentrating stress at the solder point.
Finish every repair with a sequence of simple checks to confirm reliability and reduce the chance of recurrence. Inspect the reworked joint for a shiny, concave fillet and good wetting of both pad and conductor, perform a continuity check while applying a small mechanical load, and run the circuit under its expected load for a short burn-in period to see if the fault returns. Keep a record of recurring faults and the fixes applied so you can identify patterns in design or assembly that require a permanent change, and for further practical projects and tips see our Maker & DIY posts on the blog. For more builds and experiments, visit my main RC projects page.
Comments
Post a Comment