Practical tips and tricks: how to diagnose Wi-Fi issues
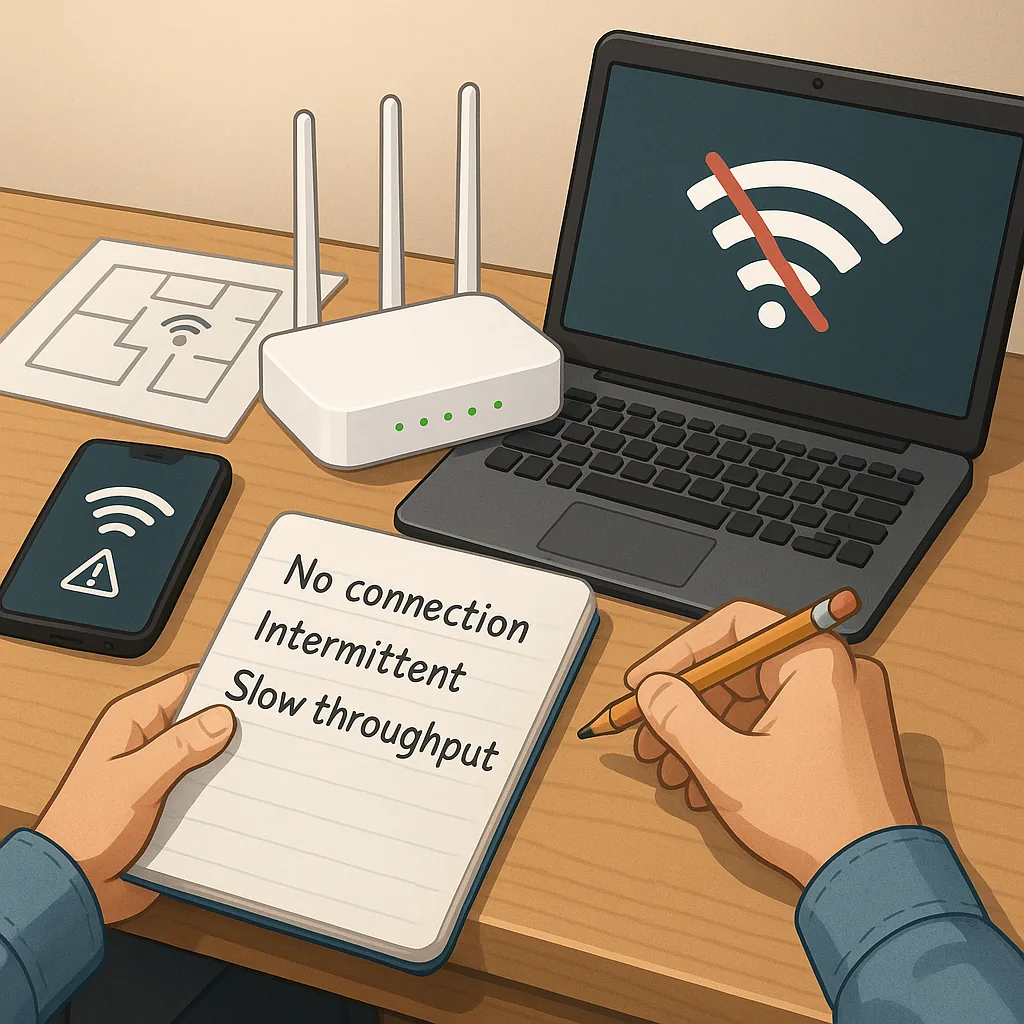
Wi-Fi problems are rarely caused by a single obvious fault, so a structured approach saves time and reduces frustration. Start by defining the symptom clearly, whether that is no connection, intermittent dropouts, slow throughput, or poor coverage in specific rooms. Note which devices are affected and whether the issue occurs at particular times of day. Having that short checklist helps you choose the right tests and avoids chasing red herrings. This guide gives practical diagnostics you can run with minimal equipment and without specialist training.
Begin by isolating the problem to the device or the network. Connect one affected device to the router with an Ethernet cable to check whether the internet itself is slow or the wireless link is at fault. Reboot the modem and router in sequence and test again, because many transient faults clear with a restart. Try an alternative device on the same wireless network to see if the behaviour is device specific, and check whether background applications or updates are using bandwidth on the device experiencing the issue.
Physical factors and placement are a surprisingly common source of issues, so inspect the router location and local environment. Ensure the router is elevated, away from thick walls and metal objects, and not hidden in a cupboard where heat build-up reduces performance. Consider which frequency band the device is using; 2.4 GHz covers further but is more congested, while 5 GHz is faster but has shorter range. Common interference sources to check include the following list.
- Microwave ovens and cordless phones operating near the router.
- Bluetooth devices and baby monitors sharing the 2.4 GHz band.
- Neighbouring Wi-Fi networks on the same channel, especially in flats or terraced houses.
- Large appliances or metal radiators blocking signal paths.
Use simple diagnostic tools to gather objective data before changing settings. Run a continuous ping to your router and to an external IP to find packet loss and latency spikes. Use traceroute to see where delays occur between your network and the internet. On a laptop or phone, a Wi-Fi analyser app will show channel occupancy and signal strength across time, helping you pick a quieter channel. For throughput checks, run a reputable speed test from a wired device to establish baseline ISP performance, then compare results on wireless at various distances.
Inspect router settings and firmware as part of the diagnosis, because poor defaults or outdated software often cause issues. Check that the router firmware is up to date and review wireless channel and channel width settings, dropping from 40 MHz to 20 MHz on 2.4 GHz if there is interference. Disable legacy modes if all your devices support modern standards, and consider turning off band steering temporarily to test each band independently. Look at the DHCP lease settings, security mode (use WPA2 or WPA3 where supported), and any quality of service rules that might be prioritising traffic incorrectly.
When troubleshooting, be methodical and document changes so you can revert if necessary. Change a single variable at a time, test for a period, and record results, because simultaneous changes make it impossible to know what fixed or worsened the problem. If you reach a limit, contact your ISP to check line quality and external issues, and consult other practical guides on the blog for step-by-step procedures by visiting the How-To Guide label for related posts. If hardware shows repeated failure or firmware updates do not help, consider replacing the router or adding a mesh or access point to improve coverage as a last resort. For more builds and experiments, visit my main RC projects page.
Comments
Post a Comment