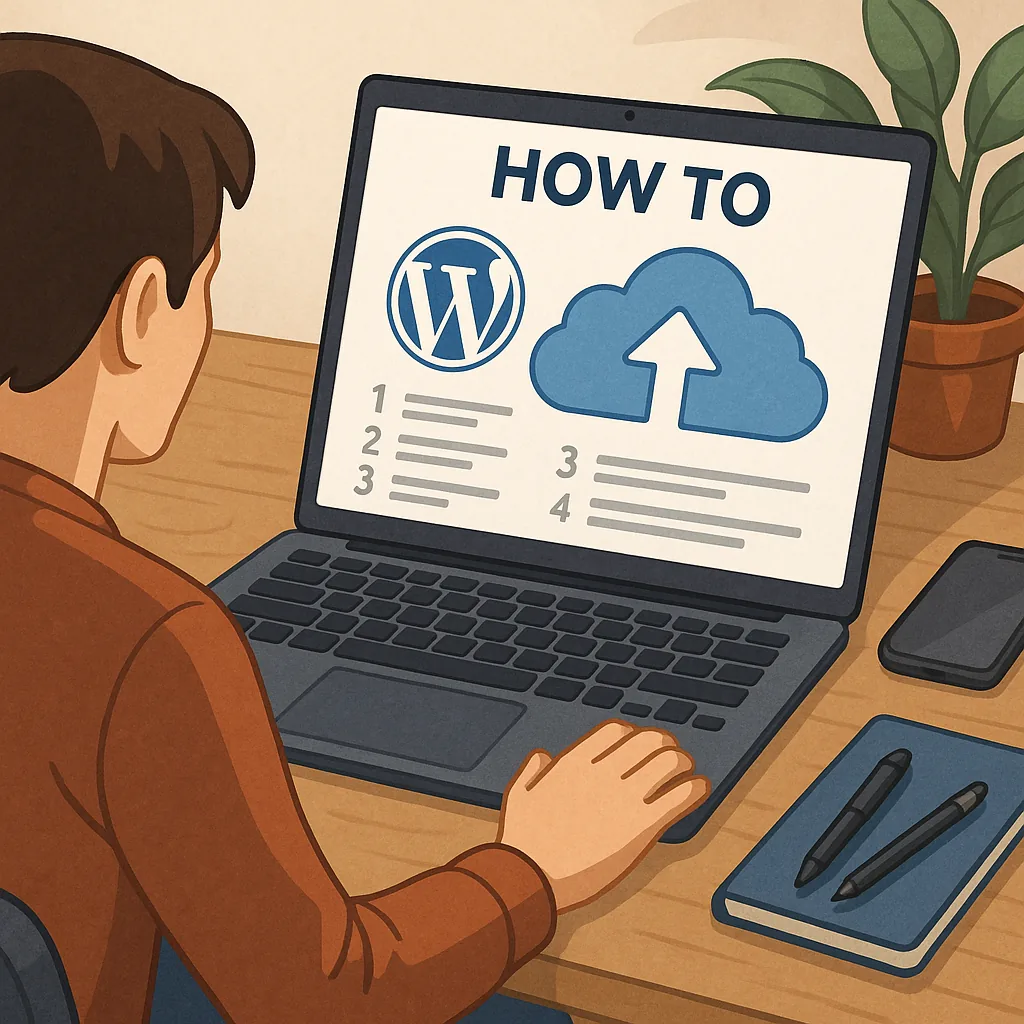
how to back up a WordPress site: a step-by-step guide for reliability.
Backing up your WordPress site is a single task that prevents many headaches later, and this tutorial takes you through the practical steps to create reliable backups that you can restore from when needed. I cover both manual and automated approaches so you can choose what fits your hosting setup and technical comfort level, and I explain where to store backups securely and how to test them. This guide assumes you maintain at least basic administrative access to your hosting control panel or server so you can download files and export the database without surprises.
Before you start, gather the essentials: administrator access to the WordPress dashboard, FTP or SFTP credentials, cPanel or another hosting control panel login if available, and database credentials for phpMyAdmin or WP-CLI access. Decide where backups will be stored — locally on your computer, on a remote NAS, or using cloud storage — and ensure you have enough space and a simple rotation policy so older backups are pruned. A backup strategy should include both files and the database because files alone do not contain posts, pages or settings that reside in the database.
Step 1: back up your files manually by downloading the wp-content folder and any custom files outside the WordPress directory, using these steps. Log into your hosting control panel and open the file manager, or connect with an FTP/SFTP client such as FileZilla. Navigate to the public_html or www directory and locate wp-content, wp-config.php and any mu-plugins or must-use files you have. Compress the wp-content folder into a zip archive using the control panel utility or download the folder directly via FTP; compressing before download makes transfers faster and preserves file permissions more consistently. Save the resulting archive to your backup destination and label it with the date and site name for clarity.
- Local computer backup for quick restores and testing.
- Offsite cloud storage for disaster recovery and redundancy.
- Network-attached storage for organisational central backups.
Step 2: back up the database because it contains all your content, users and most settings, and follow this method if you use phpMyAdmin or WP-CLI. For phpMyAdmin, log into your control panel, open phpMyAdmin, select the WordPress database, click Export, choose the Quick method and SQL format, then click Go to download the .sql file. If you prefer a command line, use WP-CLI with wp db export backup-date.sql when connected via SSH to the server; this produces a portable SQL file. Store the database export alongside your files, and secure it with appropriate file permissions or encryption if you keep it in shared or cloud storage.
Step 3: consider automated backups and useful plugins if you want scheduled copies without manual intervention, and outline a simple rotation and retention policy. Install an established backup plugin and set automated daily or weekly schedules depending on how often content changes, configure remote storage to an external destination, and enable notifications for failed backups. Alternatively use a host that provides daily snapshots, or script scheduled backups with cron jobs and WP-CLI for advanced control, saving exports and archives to a remote server or cloud bucket. Ensure you keep at least three restore points and test retention limits so you can restore to a moment before an incident.
Finally, test your restore process regularly to verify that backups are complete and usable, and document the steps to restore to a working staging environment before attempting a live restore. To test, create a staging site, upload the file archive and import the SQL file, then check pages, posts and plugin settings for missing data or broken links and correct file permissions after extraction. Keep a simple recovery checklist with access credentials and the location of the latest successful backup so you can act quickly if your site is hacked or corrupted, and consult related procedural guides on the blog for further best practices at other step-by-step guides. For more builds and experiments, visit my main RC projects page.
Comments
Post a Comment