ESP32 beginner projects: step-by-step guides to get you started
This article walks you through a sequence of simple ESP32 beginner projects that gradually build practical skills and confidence with hardware and code, starting from basic flashing and ending with a small web-controlled device, so you can progress at your own pace.
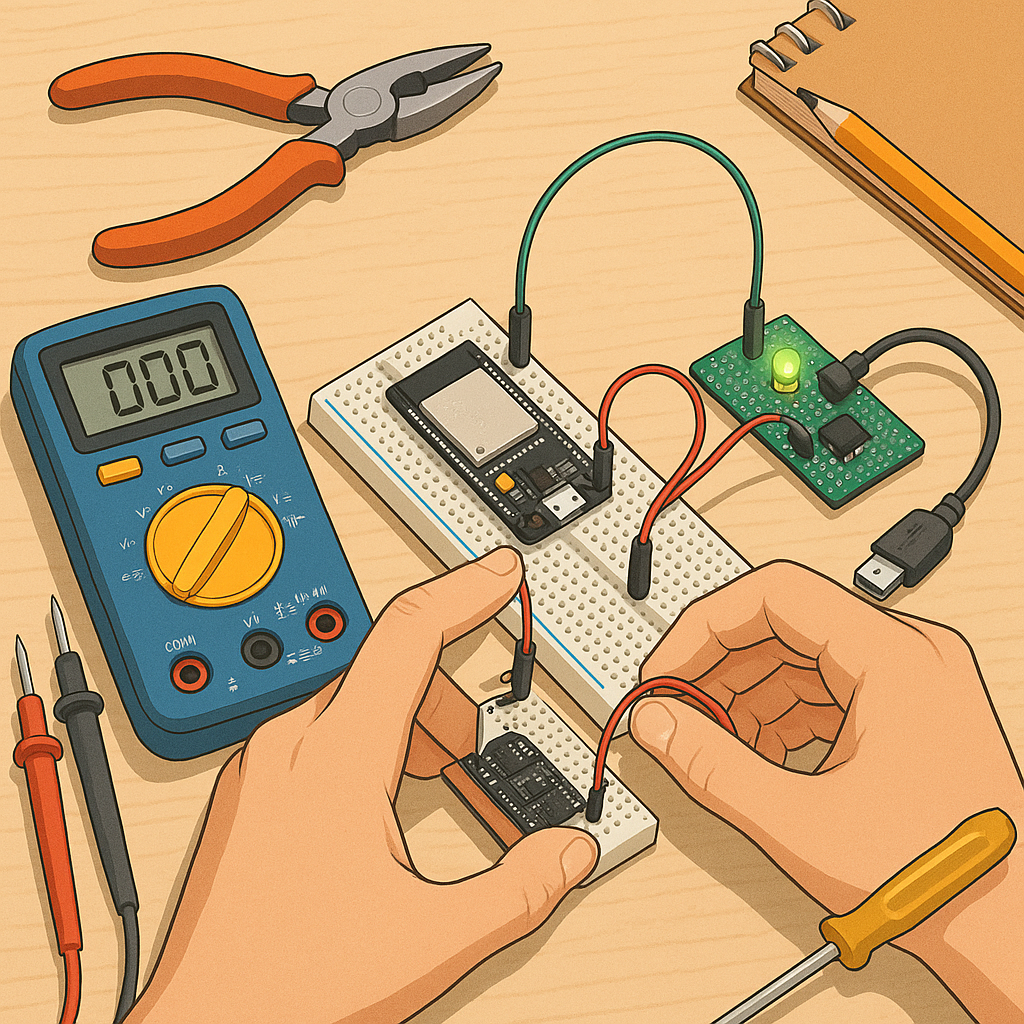
Before you begin, gather a few inexpensive items that make experiments straightforward and repeatable, such as an ESP32 development board, a USB cable, a breadboard, jumper wires, an LED with a resistor, and a basic temperature sensor, along with a laptop for programming and testing.
- ESP32 development board (DevKitC or similar).
- USB-A to microUSB or USB-C cable as required by your board.
- Breadboard and jumper wires for quick prototyping.
- LED, 220 ohm resistor, and a push button for simple IO tests.
- DS18B20 or DHT11/DHT22 temperature sensor for environmental projects.
Step 1: set up your development environment by installing the Arduino IDE or VS Code with PlatformIO, and add the ESP32 board support package following the tool instructions, so the board shows up on the port list when connected and you can select a matching board profile for flashing.
Step 2: test basic IO with a blink sketch by connecting an LED to a digital pin through a resistor, uploading a simple toggle loop at a comfortable baud rate, and observing the LED blink to verify power, cable, drivers, and the upload process are all functioning correctly.
Step 3: use the serial monitor and a WiFi scan sketch to check the ESP32’s peripherals by printing debug messages from setup and loop functions, and run a small WiFi scanner example that lists nearby networks to confirm the radio and antenna are working and you can capture output from the device.
Step 4: create a minimal web server project where the ESP32 hosts a tiny HTML page and responds to button presses to toggle an LED, using the WiFi library to connect to your local network, handling HTTP GET requests, and testing the interface from a browser on the same network to learn basic IoT interaction patterns.
Step 5: attach a temperature sensor and extend the web server so the device reports sensor readings to the page and optionally provides JSON endpoints for programmatic access, and consider adding persistence for simple settings using the onboard flash or Preferences library to keep WiFi credentials and calibration values across resets.
Final tips: document your wiring and keep small incremental changes when debugging, use the serial monitor liberally, consider experimenting with low-power modes once you understand the basics, and explore additional examples from the Maker & DIY label on this blog for more project ideas and parts lists at the Maker & DIY archive. For more builds and experiments, visit my main RC projects page.
Comments
Post a Comment