Checklist guide for ESP32 beginner projects on Build & Automate
Working through a concise checklist is one of the simplest ways to get reliable results with ESP32 beginner projects, and this guide gives you a practical sequence to follow from idea to working prototype. The approach here assumes you are new to the ESP32 chip or to embedded development generally, and it focuses on repeatable steps that minimise frustration and wasted time. Each paragraph explains a key area to consider and the central checklist below lists the actions you should tick off before moving to the next stage. The aim is to be pragmatic and to help you finish small, useful projects that build your confidence and skills.
The ESP32 is popular because it pairs Wi‑Fi and Bluetooth radio on a small, inexpensive microcontroller, and it exposes sufficient CPU, memory and I/O to run diverse projects. Typical features you will use early on include multiple GPIO pins, PWM for motor or LED control, ADC channels for sensors, and serial interfaces for displays and peripherals. Dual-core variants and low power modes expand the range of projects, while the active community and abundant libraries make learning faster. For a beginner it is a forgiving platform that scales from simple blinking LEDs to connected sensor loggers and small web interfaces.
Use this checklist as a working document you update as you learn, and consult practical references when you need deeper detail or sample code. If you want more Maker & DIY ideas from the same blog, see our Maker & DIY label page for related posts and project write-ups. Treat the list below as the minimum viable steps to complete and document a prototype, and resist the temptation to add extra components until you have a stable baseline that works with the core hardware and code.
- Define a compact project goal and success criteria, for example a temperature logger that sends data to a phone app every five minutes.
- Choose an ESP32 board that fits your needs, such as a development board with USB serial or a compact module for battery projects.
- Purchase essential peripherals: reliable micro USB or USB‑C cable, breadboard, jumper wires, and the basic sensors or actuators you plan to use.
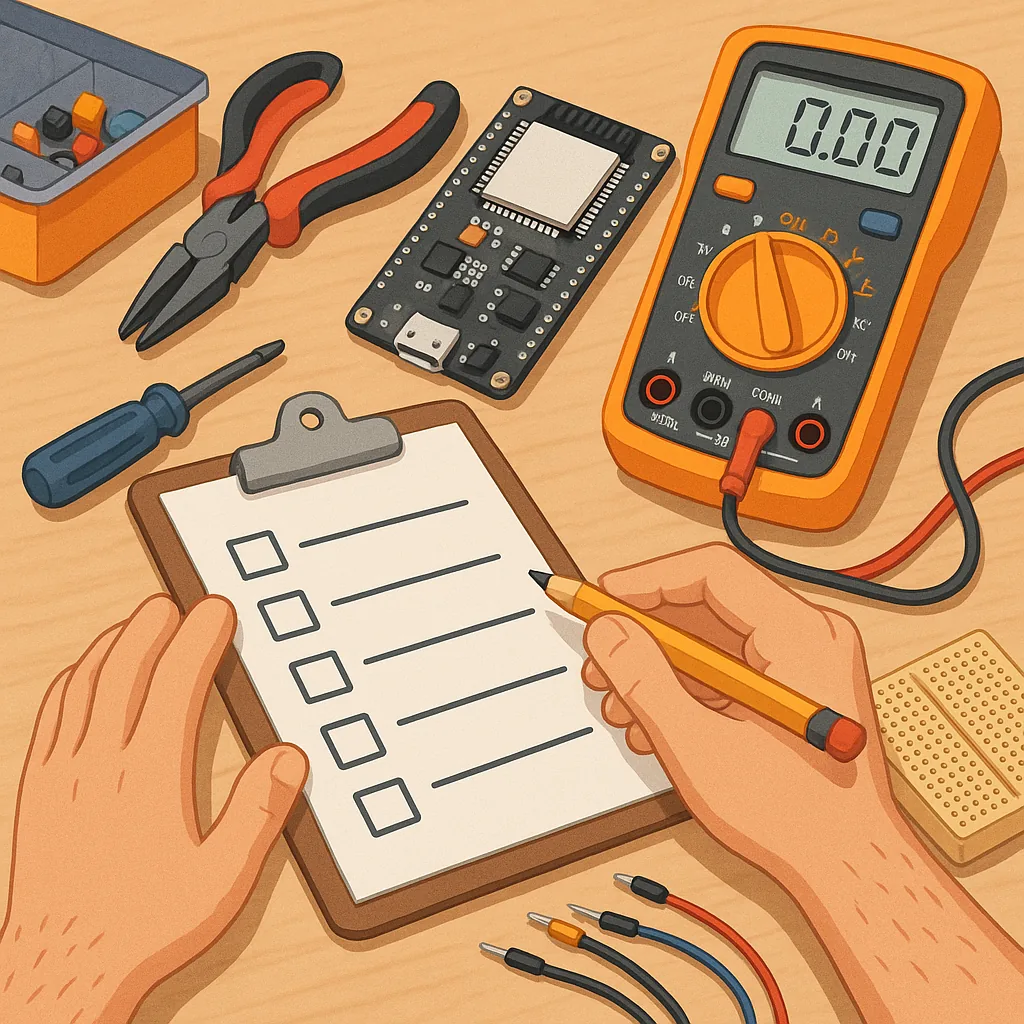
- Install a development environment: Arduino IDE with ESP32 support or the ESP‑IDF toolchain, and confirm you can compile and upload a simple sketch.
- Verify the USB serial connection and serial monitor output to confirm the board boots and responds to uploads.
- Run a basic blink example and then a serial print example to establish that code execution and debugging visibility are working.
- Wire sensors or actuators to the board on a breadboard and test each peripheral independently before combining them in your main sketch.
- Implement and test Wi‑Fi or Bluetooth connectivity early if your project depends on networking, and handle credentials securely.
- Check power requirements and test on the intended supply, including any battery behaviour, voltage regulation and current draw under load.
- Document wiring, code versions and test results so you can reproduce the build and troubleshoot regressions.
To keep momentum as a beginner, choose projects that teach a single new concept at a time and that give immediate feedback. Examples that work well include a simple LED blink and brightness control to learn GPIO and PWM, a Wi‑Fi status indicator that shows signal strength, a tiny HTTP server that reports sensor readings, a temperature logger that writes to an SD card or sends data to a phone, and an over‑the‑air update demo to understand remote firmware updates. Each of these projects introduces patterns you will reuse and expands your confidence without introducing too much complexity at once.
Practical setup tips will save time and protect hardware: use a good quality USB cable that supports data transfer, install the appropriate serial driver for your board, and prefer powered USB hubs if you have multiple devices. When working with sensors check voltage ranges and use level shifters where necessary to avoid damage. Use the serial monitor for iterative testing and add descriptive log messages that make troubleshooting simpler. Finally, always test power behaviour when switching from USB to battery and label your connections on a photograph or simple diagram so you can rebuild the project later.
Follow the checklist, tick items as you complete them and record what you changed in the code and wiring at each step, and you will reach reliable outcomes faster than by trial and error. Small, well‑documented projects accumulate into a useful portfolio of skills and components you can reuse for more ambitious builds on the ESP32 platform. Keep experiments short, celebrate incremental successes, and store your notes with the project so the next iteration starts from a stable baseline. For more builds and experiments, visit my main RC projects page.
Comments
Post a Comment