3D printing for functional parts: a step-by-step tutorial.
3D printing for functional parts demands a deliberate approach rather than a quick model and print routine, and this tutorial guides you through a practical workflow that balances strength, precision and repeatability.
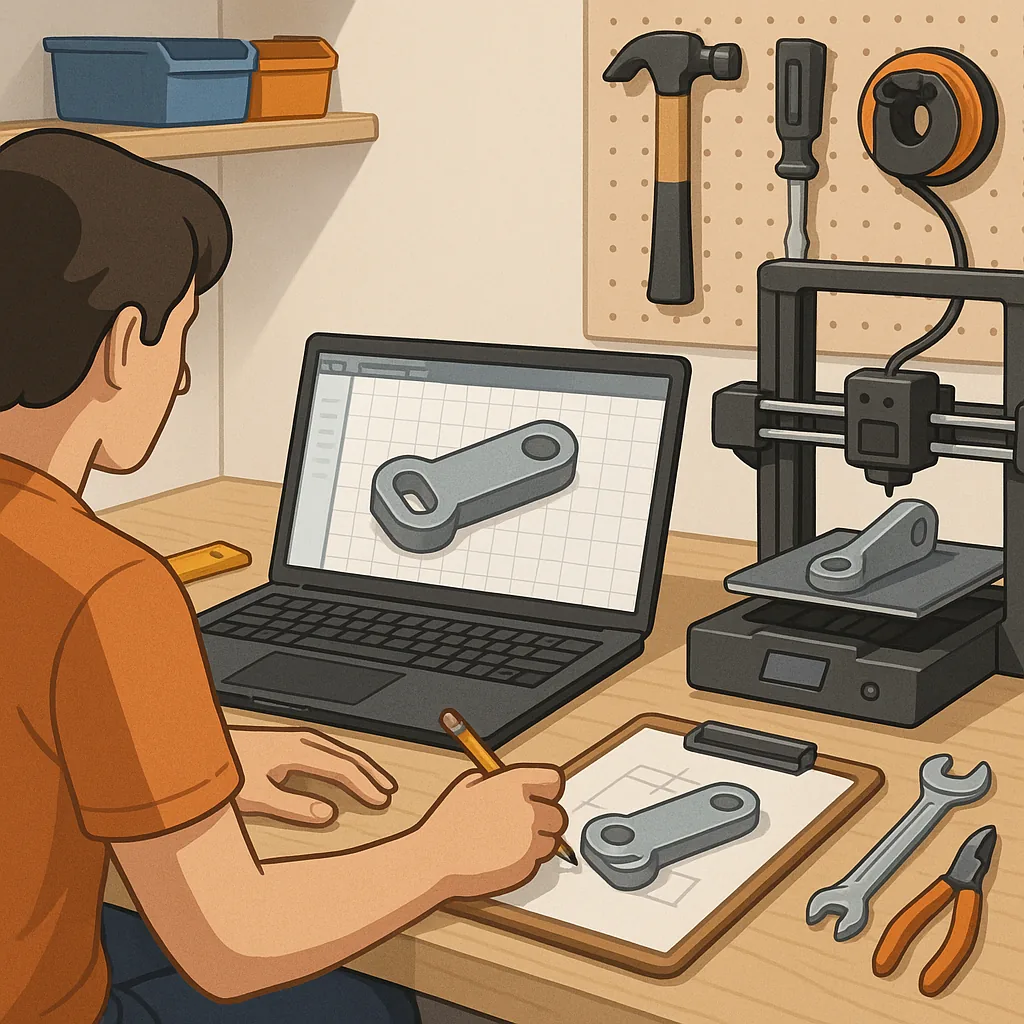
Step 1 — define the function, environment and tolerances of the part before you design anything, because what you need the part to do will determine almost every subsequent decision. Measure mating features and movement ranges with calipers, note temperature exposure, loading types and any chemical contact, and set target tolerances; documenting these constraints at the start will save time on reprints and redesigns.
Step 2 — choose a material and design strategy suited to the loads and conditions you recorded, because material choice affects strength, stiffness and longevity. Use PLA for prototypes and low-stress fits, PETG for good toughness and chemical resistance, and Nylon, polycarbonate or carbon-fibre-filled filaments for high strength or wear resistance; take into account hygroscopic behaviour and drying requirements for Nylon or polycarbonate when planning print and storage routines.
Step 3 — model with function in mind and add print-friendly features to reduce weak points and simplify orientation, because design intent plus print constraints produce reliable parts. Add fillets to distribute stress, use ribs instead of solid walls where stiffness is needed, design snaps and clips with compliant joints that allow some flexibility, and add sacrificial alignment features for assembly that can be trimmed later.
Step 4 — prepare your slicer using specific settings tuned for strength and dimensional accuracy, because standard cosmetic slicer presets will not always serve functional parts. Key settings to check include infill percentage and pattern, wall/perimeter count and thickness, top and bottom layers, layer height and extrusion multiplier, plus printing temperature and cooling behaviour for the chosen filament.
- Increase perimeters to at least 3 for improved shell strength.
- Use higher infill or strategic sparse infill with solid skins for load paths.
- Prefer lower layer heights for tighter tolerances where surfaces mate.
- Adjust print temperature and cooling to avoid delamination for high-strength materials.
Step 5 — orient, support and print the part with monitoring, because orientation controls layer direction and therefore the part's weakest axis. Orient the part so that primary tensile and bending loads run across layers as little as possible, add supports only where necessary to reduce cleanup time and avoid support-induced surface flaws, and enable a brim or raft for parts with small footprints or warping risk. During the first print run monitor the initial layers for bed adhesion and consistent extrusion, and note any issues like stringing, under-extrusion or delamination so you can stop early rather than waste time on long prints that will fail.
Step 6 — post-process and validate the part before relying on it in service, because sanding, annealing, tapping or inserting helicoils can transform a printed item into a reliable component. Remove supports carefully to avoid introducing cracks, consider solvent smoothing or epoxy coatings for sealing or improved wear, and perform dimensional checks against your original measurements. Run a functional test under controlled conditions, gradually increasing load to the expected operational level, and record behaviour such as deformation, creep or failure points for future design iterations.
Step 7 — iterate, document and store best practices as you refine designs, because repeatability matters most in functional projects where safety and longevity are required. Maintain a short log for each design noting filament batch, print settings, orientation and any post-processing, and store successful parts and dry filament appropriately to preserve their mechanical properties. If you want more hands-on Maker & DIY examples and community-tested techniques, see the Maker & DIY label on this site at the Maker & DIY label for related projects and notes you can adapt to your workflow. For more builds and experiments, visit my main RC projects page.
Comments
Post a Comment