Troubleshooting basic soldering and wiring reliability.
This troubleshooting guide focuses on practical checks and fixes that improve basic soldering and wiring reliability for small projects and repairs, and not on advanced manufacturing techniques or certification requirements.
Start by identifying the symptom, because different symptoms point to different root causes, and working methodically avoids wasted effort.
Common symptoms to watch for are intermittent connections that only fail when the board is moved, joints that look dull or grainy, visible solder bridges between pads, components that overheat under load, and wires that detach from crimp terminals under light strain.
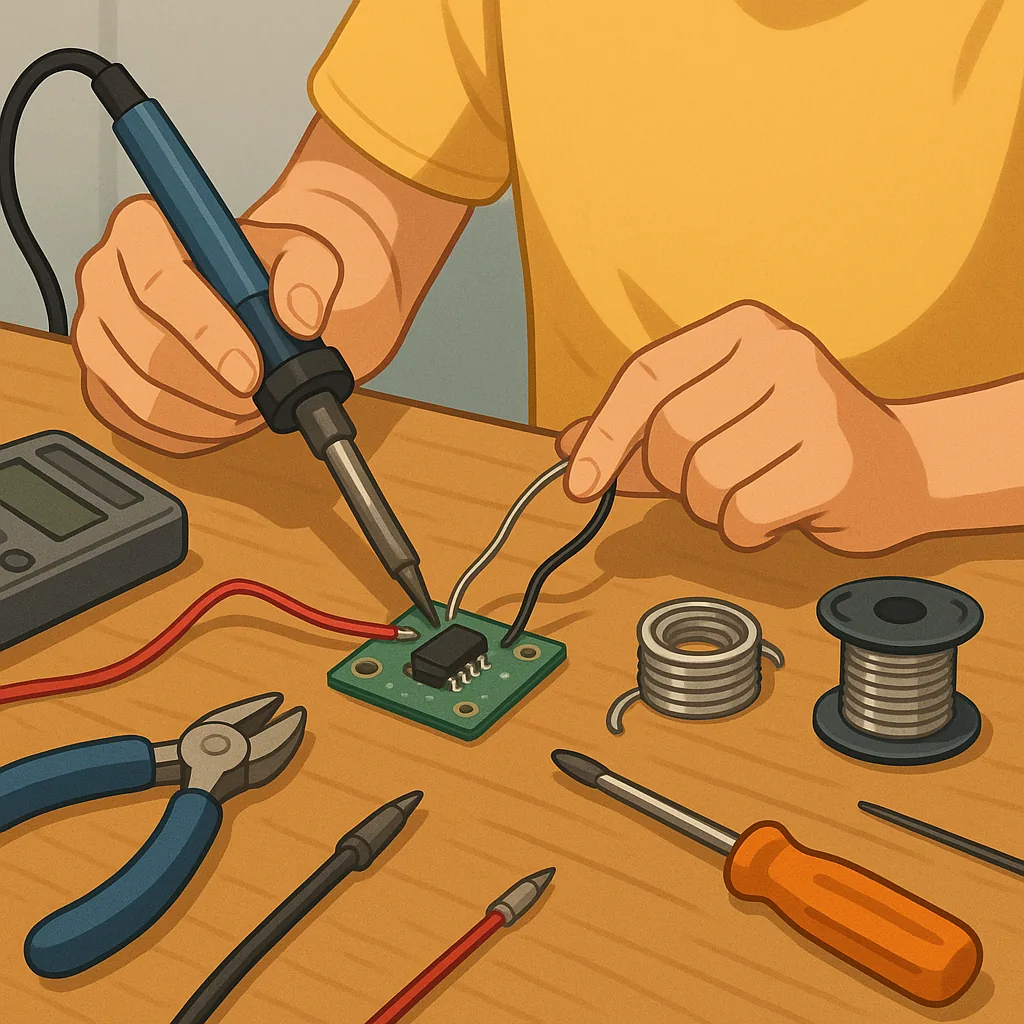
Before you rework anything, gather the right tools and check their condition, because poor tools cause many problems that look like defects in your work, and because safety matters when working with heated irons and mains-powered equipment.
- Multimeter for continuity, resistance and voltage checks, with fresh probes and known-good leads.
- Soldering iron with appropriate tip, temperature control if possible, and a clean tip that wets solder properly.
- Flux and solder suited to electronics, desolder braid or a pump for rework, and magnification or a loupe for inspection.
Use a step-by-step diagnostic routine so you do not introduce new faults while fixing others, and perform tests in this order where practical: visual inspection under good light, continuity and resistance checks with a multimeter, wiggle tests under power at low load if safe, and thermal checks for abnormal heating.
When you find a suspect joint, heat the joint correctly and check whether the solder flows to create a neat fillet between pad and lead rather than just forming a blob on top, and if the joint fails to wet either surface after adequate heat has been applied then clean the surfaces and reapply flux before trying again.
For wiring issues, confirm that the conductor and terminal match in gauge and type, and look for mechanical strain as the primary cause of intermittent faults by gently tugging wires while observing under a microscope or magnifier, and consider using heat-shrink tubing, cable ties, or adhesive-lined tubing for strain relief to prevent repeated flexing at the soldered joint.
When reworking, remove excess solder with braid, replace damaged component leads or terminals, and avoid overheating sensitive parts by using appropriate technique such as short contact time and preheating larger pads where necessary, and once repairs are complete perform a final continuity test and a functional test under expected operating conditions.
To reduce recurrence, plan your wiring and component layout for accessibility and stress relief, avoid routing wires across sharp board edges, use sleeving or conduit where vibration is expected, and keep a brief checklist nearby for common failure modes and fixes so that you can quickly repeat the same reliable repair steps on future projects while learning from each fault found.
If you want to browse practical project write-ups and wiring examples that illustrate these principles in real builds, the Maker & DIY label on this site collects relevant posts and builds in one place for easy reference at Maker & DIY. For more builds and experiments, visit my main RC projects page.
Comments
Post a Comment