how to set up a home server safely: step-by-step guide
Setting up a home server can give you control over storage, media, backups, and home automation, while keeping data on hardware you manage yourself. This guide walks through practical steps to get a reliable, secure system running without assuming specialist knowledge. The focus is on safety at each stage, covering hardware choices, network configuration, basic hardening, backups and routine maintenance. Follow the steps in order and adapt them to the scale of your needs, whether a low-power single-board computer or a small rack-mounted machine.
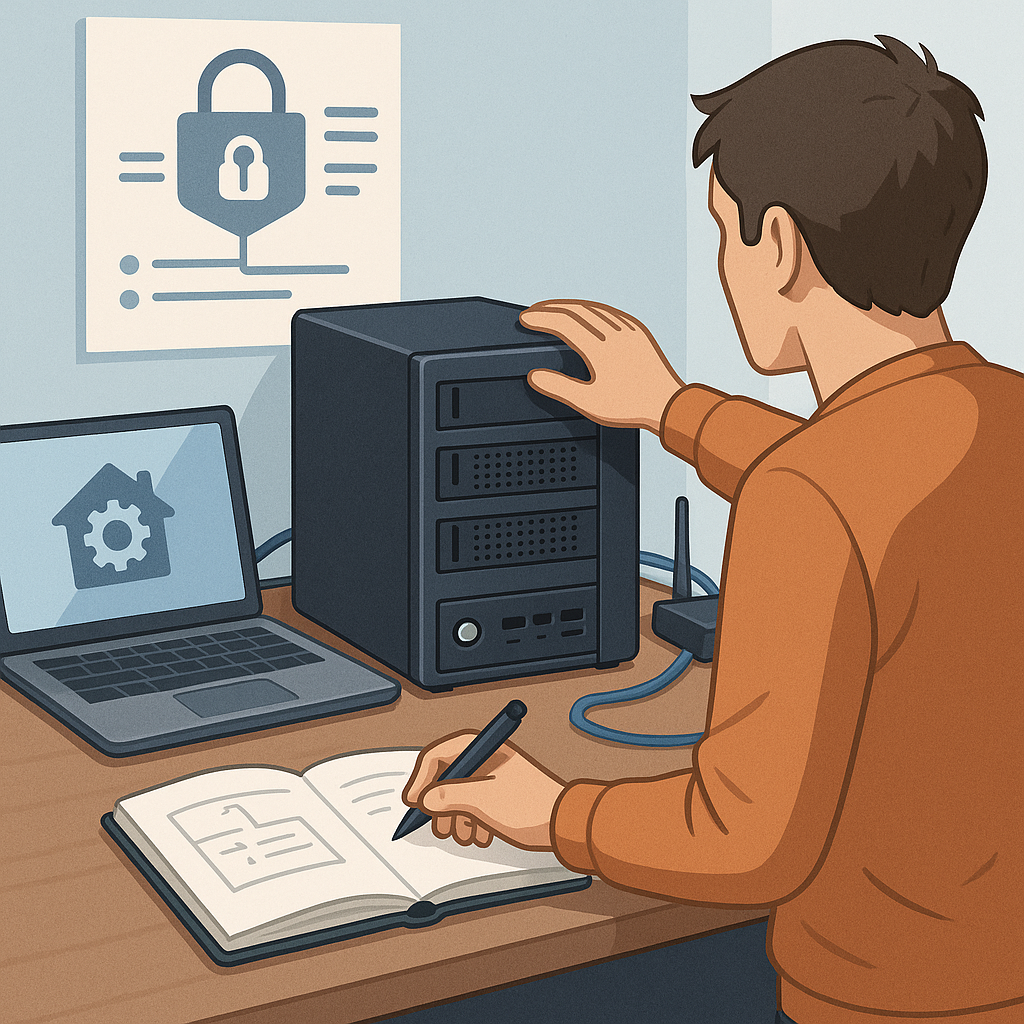
Step 1 is planning and choosing the right hardware and operating system. Decide what services you want to run and how much storage and RAM they will require, and favour modest over-specification for energy efficiency. Typical options are a small NAS box, an Intel or AMD mini PC, or a single-board computer for light services. Choose an operating system with a strong community and regular security updates, such as a mainstream Linux server distribution or a specialised NAS OS, and prefer LTS releases for stability. Label and document drives and components before installation so you can replace parts if needed without guesswork.
Step 2 covers network configuration and perimeter defences. Give the server a static local IP or a DHCP reservation and place it on a sensible local subnet. Avoid exposing services directly to the internet unless necessary, and if you need remote access use a VPN or a secure reverse proxy rather than opening lots of ports. If you want to learn more about related procedures and other guides on the blog, see our How-To Guides. On your router, restrict port forwarding to what you explicitly require and log those changes in your configuration notes.
- Change default passwords before connecting the server to the network.
- Create a non-root user for day-to-day administration and use sudo for elevated tasks.
- Set up SSH key authentication and disable password authentication for SSH access.
- Disable root login over SSH and restrict SSH to known IPs where practical.
- Enable and configure a host-based firewall such as ufw or nftables to allow only necessary ports.
- Install fail2ban or similar to block repeated unauthorised login attempts.
- Enable automatic security updates for the OS and critical packages where practical.
- Configure regular automated backups, including at least one offsite copy.
Step 3 is service hardening and isolation. Run services with the minimum privileges they need and use separate user accounts, containers, or virtual machines to isolate different functions. Containers are useful for keeping applications separate and making updates or rollbacks simpler, while virtual machines offer stronger isolation at the cost of additional resource use. Keep public-facing services in a DMZ or isolated VLAN where possible to reduce blast radius if a service is compromised. Limit the use of third-party plugins or community packages unless you can vet their updates and security posture.
Step 4 addresses backups, monitoring and recovery. Backups are the single most important safeguard, so adopt a 3-2-1 approach: at least three copies of your data, on two different media, with one copy offsite. Use snapshotting for quick rollbacks when the underlying filesystem supports it, and perform regular full test restores to verify your backups actually work. Implement lightweight monitoring for disk health, CPU and memory usage, and service availability so you can detect anomalies early. Keep a simple runbook documenting how to restore from backup, rotate keys, and recover from a ransomware or hardware failure scenario.
Step 5 covers ongoing maintenance, logging and physical safety. Keep the system updated and review logs periodically for unusual activity, and automate routine tasks where safe, such as nightly security updates combined with a maintenance window for critical services. Use UPS protection and a stable power source, and locate the server in a cool, dry place with restricted physical access to reduce the risk of theft or tampering. Periodically test your disaster recovery plan and refine your configuration notes as you make changes, so you can bring the service back quickly if something goes wrong.
By following these steps you build a home server that balances convenience with security, keeping control of your data while minimising exposure. Start small, iterate on your setup, and prioritise backups and access controls over convenience until you are confident in the system's resilience. Regular maintenance and disciplined change management will keep the server reliable for years of practical use. For more builds and experiments, visit my main RC projects page.
Comments
Post a Comment