DIY workshop organisation: a step-by-step guide for a practical workroom.
Setting up a tidy, efficient workshop begins with a clear aim and a modest plan, rather than a full refit in one go. Begin by listing the main activities you perform in the space, the tools you use most often, and any constraints such as height, ventilation or shared access. Consider how often you need to move heavy items and whether you require fixed benches or mobile trolleys. This initial step helps you design a workshop that supports how you actually work and prevents expensive mistakes later on.
Step one is mapping and zoning the area for maximum flow and safety. Measure the room and sketch a simple floor plan with zones for preparation, assembly, finishing and storage. Place noisy or dusty machines near extraction or external walls to reduce fumes and dirt in the rest of the room. Make sure walkways are at least 60 to 80 centimetres wide for comfortable movement and trolley access. Think about the sequence of tasks and arrange zones so materials move in a logical direction from raw to finished without backtracking.
Step two is decluttering and taking an inventory to identify what stays, what goes and what needs replacing. Empty shelves and cabinets and sort items into clear categories such as tools, consumables and leftover materials. Be ruthless with duplicates and broken items, but keep a small stash of essentials for repairs and jigs. Write a short inventory on a single sheet or a digital note so you can track consumables like abrasives, glues and fasteners. Knowing what you have reduces overbuying and keeps frequently used items at hand.
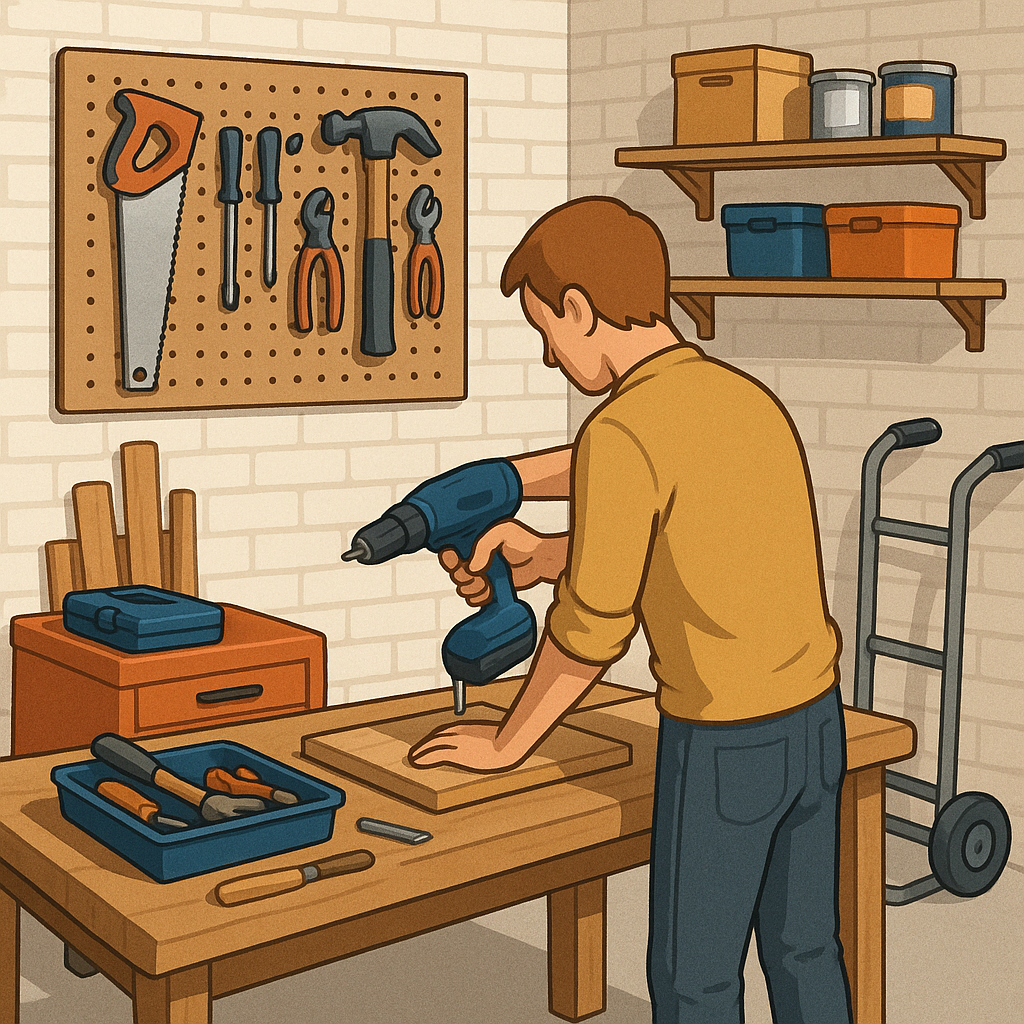
Step three is laying out work surfaces and task-specific stations. A general-purpose bench should be central and sturdy, ideally with clamps and a durable surface such as laminated plywood or phenolic resin. Place a dedicated assembly bench near your parts storage to speed up build times, and keep finishing and spray activities in a well ventilated corner or outside where possible. Fit task lighting directly over benches and machines, and consider adjustable LED fixtures to reduce shadows. Place power sockets within reach of each major tool to avoid trailing leads across walkways.
Step four focuses on storage systems and small parts management, which make or break efficiency. A few reliable options work well when combined in a single layout.
- Pegboard and hooks for frequently used hand tools, labelled for quick return.
- Stackable plastic bins for fasteners and consumables, with clear lids or labels.
- Shallow drawers with dividers for small electronics or fittings, arranged by type.
- Cupboards or lockers for hazardous materials, locked and marked for safety.
- Mobile tool trolleys for shared or occasional-use tools, so they can move to the task.
Step five covers utilities, safety and dust control to protect both you and your projects. Fit adequate extraction for dust-producing tools and position vacuums so hoses reach the machines without impeding movement. Plan electrical circuits to avoid overloading single sockets and include RCD protection for workshop power. Keep a basic first aid kit and a fire extinguisher accessible, and post simple safety rules by the entrance. Clear signage and labelled storage reduce accidents by making hazards and procedures obvious to anyone working in the space.
Step six is establishing a maintenance and review routine so organisation becomes habit rather than a one-off. At the end of each day, spend five to ten minutes returning tools to their homes, wiping benches and checking consumable levels. Do a monthly review to reshuffle storage if workflow changes and to declutter seasonal or project-specific items. Keep a short notebook or digital log of recurring problems and the adjustments you make, and refer to it before starting a new project to avoid repeating mistakes. For further hands-on projects and ideas that match these principles see the Maker & DIY label for practical inspiration and examples. For more builds and experiments, visit my main RC projects page.
Comments
Post a Comment