Beginner's guide: how to choose the right microcontroller for your project.
Choosing a microcontroller can feel overwhelming when you are starting out, but it is mainly about matching needs to hardware and tools. This guide is written for beginners and walks through the simple questions to ask, the key specifications to compare and the practical steps you can take to reach a confident decision. It assumes you want to build a small device, prototype a sensor or automate a household task, and it points you to how to evaluate performance, peripherals and the development ecosystem. By the end you will know which criteria matter most for common beginner projects and how to test a candidate microcontroller before committing to a design.
Begin by defining the problem your project must solve and the constraints you face. Ask whether the device needs real-time responsiveness, wireless connectivity, long battery life, analog sensing or user interaction. Consider size and cost limits, the expected number of input and output pins, and whether you will need multiple serial buses or a display interface. Also think about your own timeline and experience: some platforms have steeper learning curves but offer more flexibility, while others are designed to get you running quickly. Clear answers to these questions narrow the field dramatically and make technical comparisons much more straightforward.
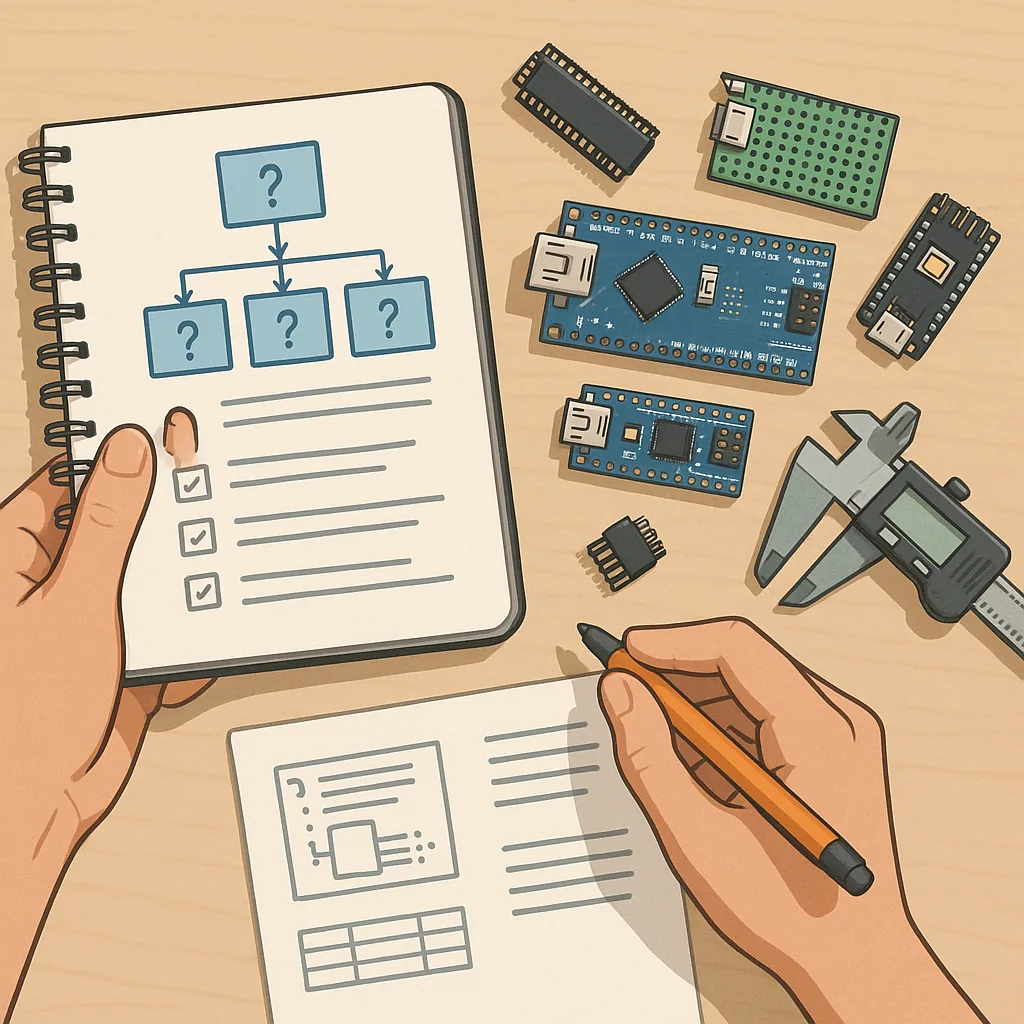
Understand the basic technical categories so you can compare chips like-for-like. The main areas to consider are CPU core and clock speed, memory (flash for code and RAM for variables), I/O count and types, built-in peripherals and power characteristics. Certain microcontrollers excel at handling many analog inputs while others provide lots of digital timers or hardware communication modules. It is also worth noting whether the chip includes hardware for encryption, USB or native Ethernet when your project needs secure or networked communications.
- CPU and architecture: 8-bit for simple tasks, 32-bit ARM Cortex for more complex or faster needs.
- Memory sizes: enough flash to store your firmware and enough RAM to run its variables and buffers.
- Peripherals: ADC, DAC, PWM, timers, UART, SPI, I2C, CAN depending on sensors and actuators.
- Power features: low-power modes, sleep current and operating voltage ranges for battery projects.
- Packages and pin count: whether you need many GPIOs or a small surface-mount package for compact builds.
Power consumption and package choices often decide the suitability for portable or battery-powered projects. Look for chips with well-documented low-power modes and easy methods to enter and exit sleep states if battery life matters. The operating voltage matters for sensor compatibility and level shifting; many microcontrollers run at 3.3 volts rather than 5 volts. Think about the physical package too: a larger breakout-friendly package is great for prototyping on breadboards, while smaller surface-mount packages are common in final products but require soldering skills or a breakout board for prototyping.
The development ecosystem can make or break the experience, especially for beginners. Check for a friendly integrated development environment, plentiful example code, and community support such as forums or tutorials. Availability of development boards, bootloaders and libraries for sensors and communications can speed progress immensely. Also consider debugging options: can you use a simple USB serial for prints, or does the platform support hardware debugging with breakpoints and stepping. A strong ecosystem shortens learning time and reduces frustration during hardware bring-up.
Finally, balance cost, availability and long-term needs before you commit to a microcontroller for production. Count not only the chip cost but the cost of any required external components, the price of development boards and potential tooling like a programmer or a reflow service. Check part availability and manufacturer longevity if you expect to produce units in the future. Start by prototyping with inexpensive and well-supported development boards, try a small project that mirrors your final goals and iterate based on the experience you gain. For a collection of beginner-friendly guides and project ideas that can help you test candidates, see the related How-To Guides here: Build & Automate How-To Guide collection. For more builds and experiments, visit my main RC projects page.
Comments
Post a Comment