basic soldering and wiring reliability: a beginner's guide for makers
Reliable soldering is the foundation of any successful electronics project, and basic soldering and wiring reliability matter as much on a breadboard prototype as on a finished enclosure. This guide is written for beginners and focuses on practical habits that prevent failures later on, such as correct heating technique, mechanical support, cleanliness and testing. It does not assume prior experience beyond knowing how to hold a tool, and it aims to help you get consistent results on small hobby circuits and repairs.
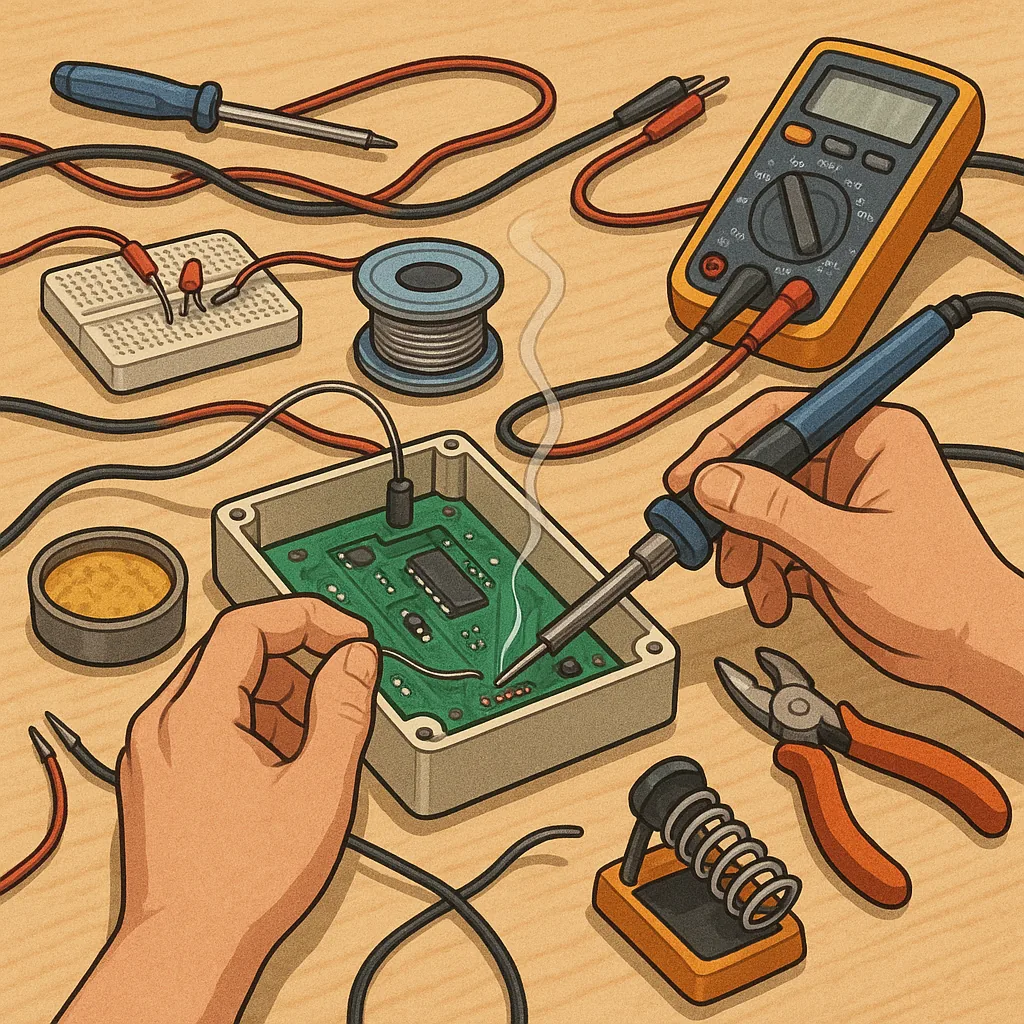
Start with the right tools and consumables because poor gear makes good technique almost impossible. Use a temperature-controlled soldering iron in the 300 to 350 degrees Celsius range for most solder and small components. Choose rosin-core solder with a 60/40 or 63/37 tin-lead mix for ease of learning, or a suitable lead-free alloy when required for safety or compliance. Have a few tip sizes, quality wire strippers, small cutters, tweezers, flux (if your solder is not flux-cored), solder wick and a basic multimeter. Keep heatshrink tubing, hot glue or cable ties for strain relief and a damp sponge or brass tip cleaner to keep tips clean.
Preparation is half the job, so strip and clean before you solder. Remove insulation to the minimum length needed, typically 2 to 4 millimetres, and tin stranded wire by heating the conductor lightly and applying solder until strands are bonded. For plated-through holes or component leads, insert the lead and ensure the part sits flush before heating. Use light flux on oxidised pads and wipe boards with isopropyl alcohol if they are dirty. Tinning pads or wires gives faster heat transfer and makes it easier to form a good joint with less time under the iron.
Forming the joint requires heating the part and the pad or wire at the same time and applying solder to the joint, not to the iron tip, so that it flows and wets both surfaces. A good solder joint looks smooth and shiny for leaded solder or clean and slightly matt for many lead-free alloys, and it should form a concave fillet between pad and component. Avoid cold joints caused by insufficient heat, which are dull, lumpy and unreliable, and avoid overheating components by minimising contact time and using heat sinks on sensitive leads if needed. Keep solder quantity moderate; bridges are common when too much solder is used on closely spaced pins.
Mechanical reliability depends on strain relief and insulation as much as the solder itself. Route wires with gentle curves rather than sharp bends, and secure cable using cable ties or clamps so the solder joint does not carry mechanical load. Use heatshrink tubing over exposed joints to provide insulation and a degree of strain relief, and consider sleeving or conformal coating for assemblies exposed to vibration or moisture. For higher-current connections, combine solder with a crimped lug or soldered lug that is mechanically robust before insulation is applied.
Testing and troubleshooting should be systematic rather than random. Use a multimeter to check continuity and look for unintended shorts between rails after soldering. Inspect joints with good light and, if possible, a magnifier to find solder bridges or cold joints. If a joint is suspect, reheat and add a little flux and fresh solder, or remove solder with wick and try again. For complex faults, isolate sections of the circuit and test stepwise; always power the circuit only after visual and continuity checks to avoid damaging components.
Practice and tidy habits pay off, so start on scrap wire and PCB pads and keep a small bench checklist to develop muscle memory. Common habits that improve reliability include keeping the iron tip clean, using the correct tip size, not applying too much solder, and securing wires mechanically before soldering. If you want more project examples and step-by-step builds that reinforce these skills, see the Maker & DIY posts on this site for practical practice exercises and ideas that suit a workshop of any size. For more builds and experiments, visit my main RC projects page.
Comments
Post a Comment