ESP32 beginner projects checklist guide for makers
Getting started with ESP32 beginner projects is easiest when you follow a small, practical checklist that covers hardware, software and safety considerations. The ESP32 is a versatile microcontroller with built‑in Wi‑Fi and Bluetooth, which makes it ideal for a wide range of simple projects from blinking LEDs to small web‑server interfaces. This guide lays out a concise sequence you can tick off as you move from unboxing to a working prototype, and it is written for makers who prefer stepwise progress rather than jumping straight into complex builds. Read each step, gather the suggested items and treat this as a living checklist you can adapt as you learn more about the platform.
Before you begin, make sure you have the essentials to hand so you do not stall mid‑project. Typical starter items include an ESP32 development board (such as the DevKit series), a micro USB cable capable of data transfer, a breadboard, jumper wires, a few LEDs and resistors, a basic temperature or light sensor, and a reliable 5 V power supply. You will also need a computer with a USB port and either the Arduino IDE or the ESP-IDF toolchain installed, plus a serial terminal programme for monitoring output. Having a small soldering iron and multimeter is useful as you progress beyond breadboard testing.
- Blink pattern and LED fading using PWM.
- Serial monitor practise and reading analog values from a sensor.
- Simple Wi‑Fi web server that displays sensor data.
- Data logger that writes to microSD or to a local MQTT broker.
- Remote control via Bluetooth Low Energy for a mobile interface.
- Over‑the‑air firmware updates on a local network for learning deployment.
Set up your development environment before wiring anything to the board so you can confirm the device is recognised and flashed without hardware complications. Install the chosen IDE and any board support packages for ESP32, check the serial port driver for your operating system, and load a simple blink sketch as a first proof of life. Note the correct board and flash frequency settings where required, and keep the serial monitor open at an appropriate baud rate to view diagnostic messages. If you prefer working with command‑line tools, follow the ESP‑IDF initialisation steps and verify you can build and flash a sample programme.
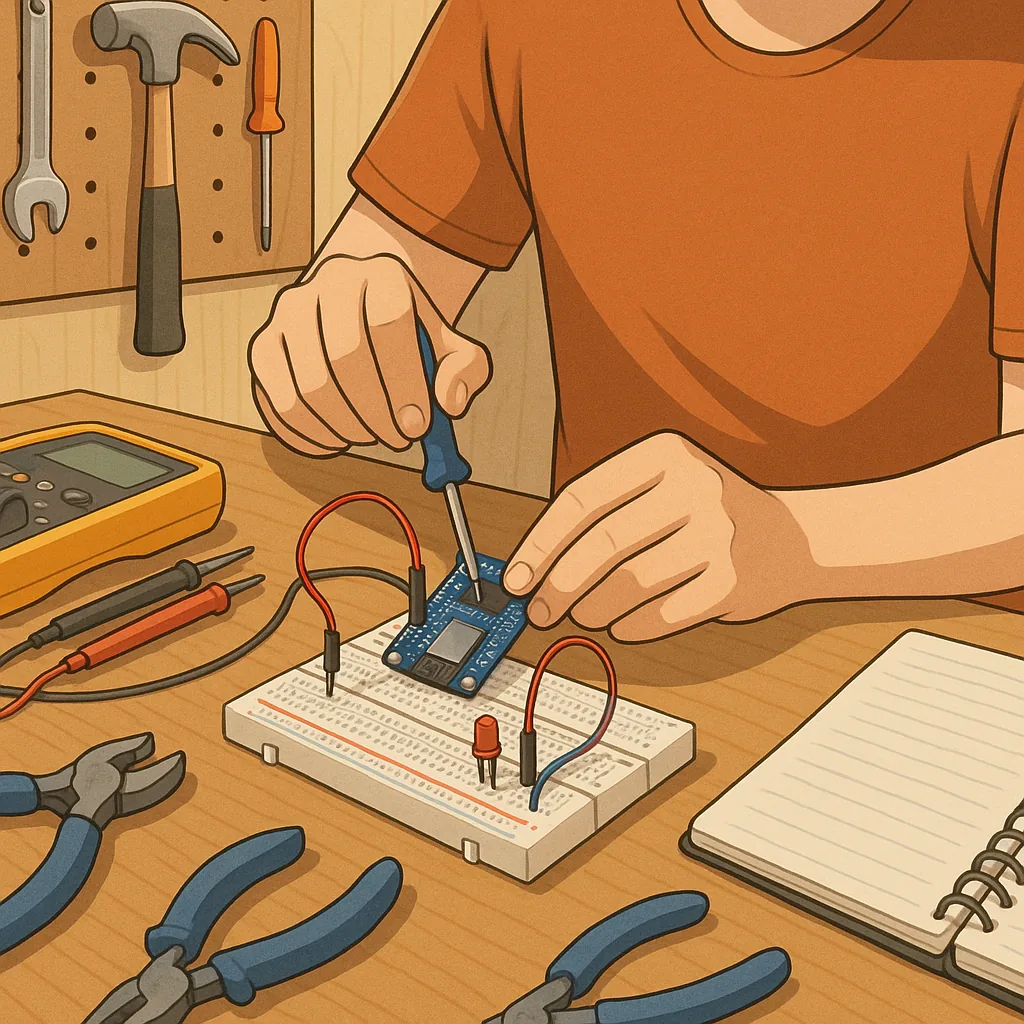
When moving to circuit work, follow a basic wiring checklist to avoid common mistakes. Always power the board from a stable supply and avoid drawing significant current from the 3.3 V pin for peripherals without confirming limits. Use resistors with LEDs, check sensor pinouts carefully and prefer breadboard testing before soldering. Make one change at a time and record wiring in a simple schematic or photograph so you can reproduce or debug the setup later. If you plan to connect mains equipment, use a relay module with proper isolation and take appropriate electrical safety precautions.
Testing and debugging should be methodical and repeatable to save time. Start with the serial log to confirm initialisation messages and sensor readings, then isolate problems by swapping components or running minimal test routines. For Wi‑Fi and Bluetooth projects, verify network credentials and check for interference or channel conflicts if connections are unstable. Use a multimeter to check voltage rails when intermittent resets occur, and consider adding a small capacitor across the supply to smooth transient currents from wireless transmissions. Keep firmware versions in source control and tag working commits so you can roll back when a new change introduces unexpected behaviour.
When you have completed a few of these ESP32 beginner projects, take stock and plan the next small steps that will grow your confidence and capability. Consider packaging a project into a simple enclosure, adding OTA updates so you can iterate without physical access, and experimenting with low‑power modes if battery operation matters. For more project ideas, community posts and component reviews from our Maker & DIY coverage see the relevant tag on the site at our Maker & DIY tag. Treat each project as a focused experiment, document your process and make incremental improvements as you learn more about the hardware and the software toolchain. For more builds and experiments, visit my main RC projects page.
Comments
Post a Comment