Node-RED + AI workflows: a beginner's guide to connecting visual automation and models
Node-RED is a flow-based development tool that makes building integrations and automations accessible to beginners and experienced developers alike. It uses a browser-based editor where you drag and drop nodes and wire them together to create flows, which reduces the need to write boilerplate code. For anyone starting with automation or prototyping AI-driven behaviours, Node-RED provides a gentle learning curve while remaining powerful enough for production use.
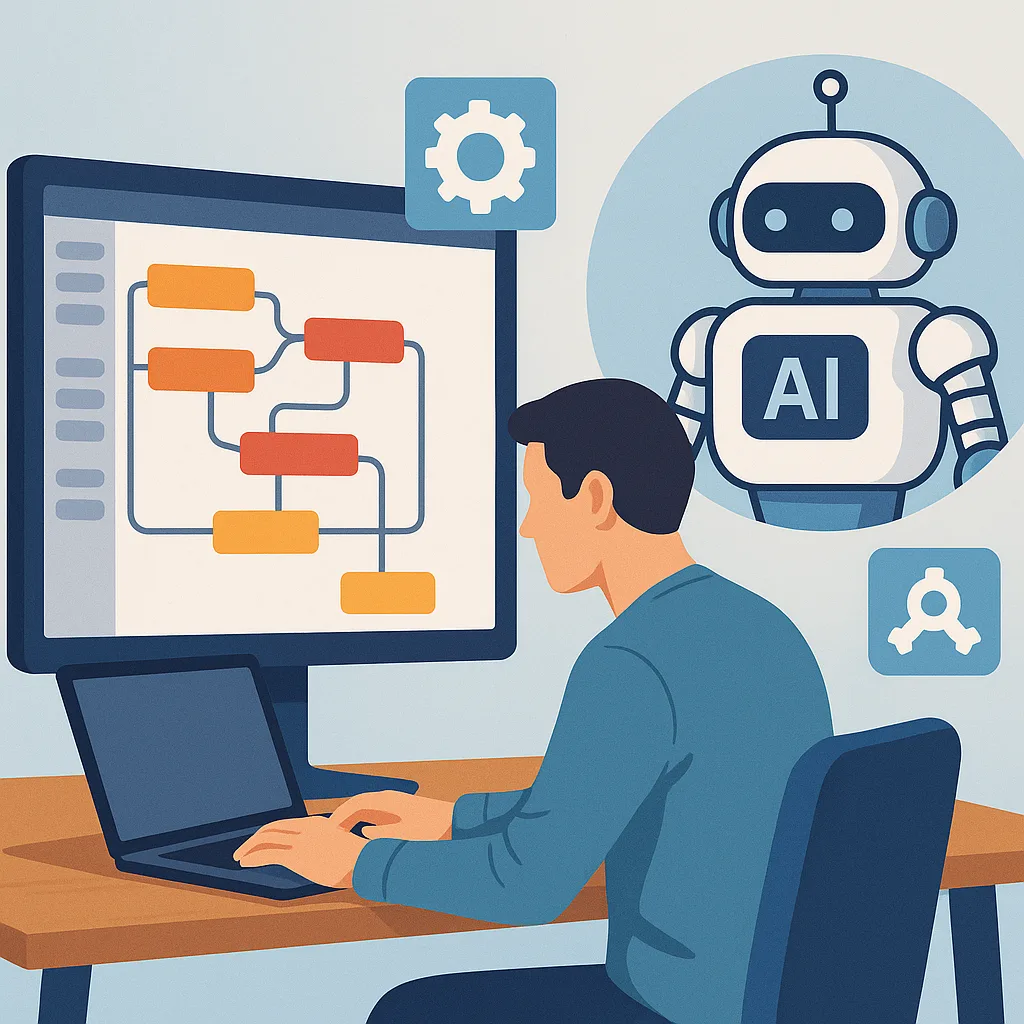
Combining Node-RED with AI enables you to orchestrate sensors, APIs and models in a single visual workspace so that data can be collected, enriched with machine intelligence, and actioned automatically. Common use cases include simple chatbots that route messages to language models, anomaly detection on IoT telemetry, automated tagging of images and documents, and routing decisions based on model outputs. The visual aspect helps beginners reason about data flow and debugging, which is often the most challenging part of integrating AI into systems.
At a high level, a Node-RED + AI workflow typically contains data ingestion, pre-processing, model inference and post-processing components. Nodes in Node-RED represent operations such as HTTP requests, MQTT subscription, database reads, or custom JavaScript functions for transformation. For inference you can either call a cloud or local inference endpoint using HTTP or gRPC, run a lightweight model on the same host using a specialised node, or hand off to a microservice that performs the heavy lifting. Designing these components clearly in the flow helps maintain observability and simplify updates to the model or pre-processing logic.
To get started, follow a small set of practical steps to build your first flow.
- Identify a simple problem to solve, such as classifying text from a web form or detecting threshold breaches from a sensor stream.
- Create a new flow in Node-RED and add input nodes that represent where data arrives, for example HTTP in, MQTT in, or a web socket node.
- Add nodes to validate and normalise incoming data, using function nodes or the change node to set the structure expected by your model.
- Connect to a model using an HTTP request node or a dedicated AI node, and pass the payload in the required format while handling authentication securely.
- Process the model response to decide subsequent actions such as issuing alerts, storing results or calling actuators.
A short example highlights the typical flow of work for a beginner project. Start with an HTTP input node that receives JSON from a front-end form, add a function node to trim, remove null fields and convert timestamps, then use an HTTP request node to call an inference service with an API key stored as an environment variable. When the model returns a classification or score, evaluate it in a switch node to take different actions such as logging to a database, returning a human-readable message via the HTTP response node, or publishing an alert to an MQTT topic for downstream systems to consume. Use debug nodes liberally during development to inspect messages at each stage and iterate quickly.
Practical tips for beginners include organising flows with subflows for repeated logic, keeping secrets out of flow files by using environment variables or a vault, and monitoring resource usage if you run models locally. Start simple, and establish clear input and output contracts for each flow to make maintenance easier. When you feel confident, explore adding version control for flow files and automated tests for function nodes to improve reliability. For more example projects and posts that walk through similar topics, see the collection of AI & Automation posts on this site. For more builds and experiments, visit my main RC projects page.
Comments
Post a Comment