how to set up a home server safely: a beginner's guide for Build & Automate
Setting up a home server can be a rewarding project that brings centralised storage, media streaming and lightweight automation into your home network. This guide is written for beginners who want a straightforward, safe approach that avoids unnecessary complexity. I will cover the essential decisions you need to make, basic security measures, and sensible habits to keep your server reliable and private.
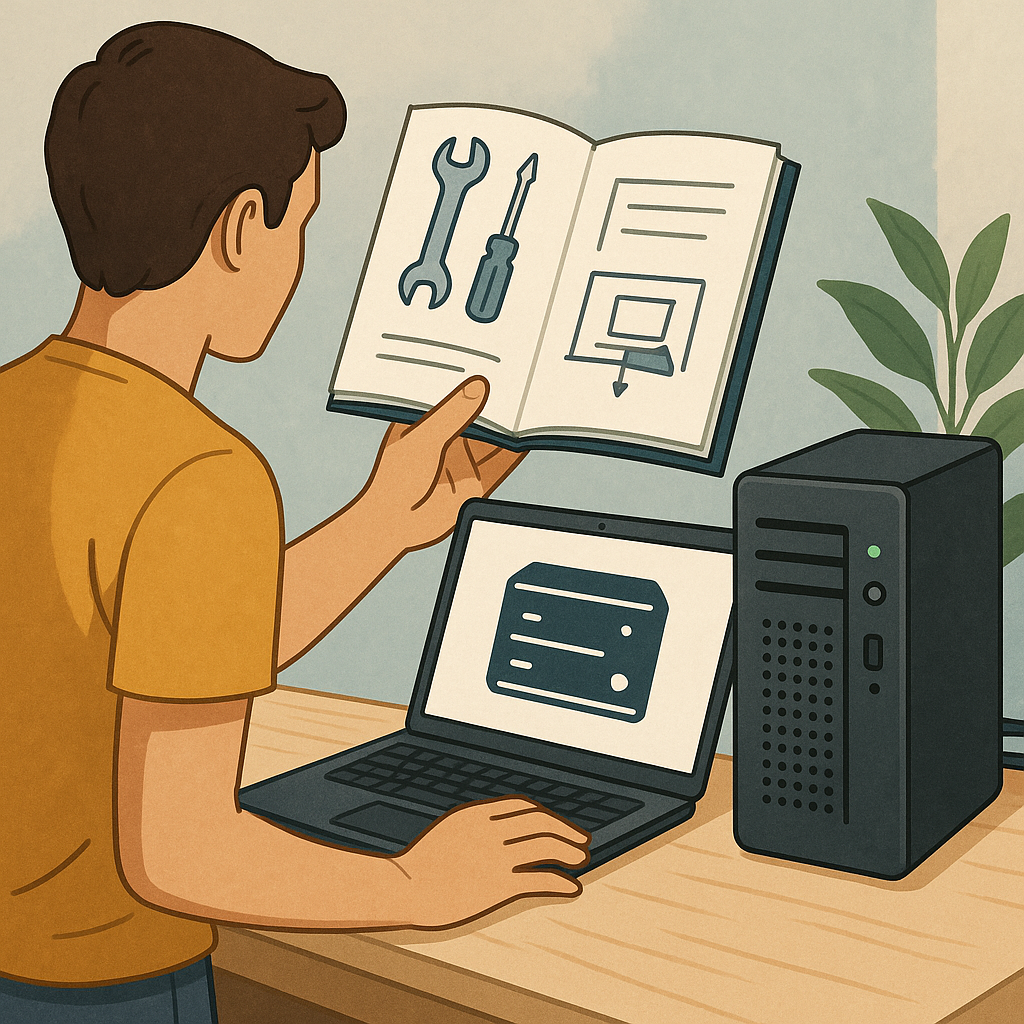
Start by defining the server's purpose because that dictates hardware and software choices. A file and backup server has different needs to a home lab or a media server. For basic tasks, an old desktop or a Raspberry Pi will be adequate and energy-efficient, while a used small-form-factor PC or a mini-NAS box gives more performance for multiple services. Consider power consumption, noise and physical space when selecting hardware, and pick a drive type that balances cost and reliability for your needs.
Choose an operating system that matches your comfort level and the functions you want to run. For newcomers, Ubuntu Server and Raspberry Pi OS are well documented and have large communities, while TrueNAS or Unraid are tailored for storage and backups. Learn how package management and automatic updates work on your chosen platform because timely updates are one of the simplest and most effective security measures. If you plan to run multiple apps, consider using containers with Docker or Podman to separate services from the base system.
Network configuration and isolation are critical parts of setting a home server up safely. Assign a static IP address or use a DHCP reservation on your router to keep the server reachable internally. Avoid opening unnecessary ports to the internet and be cautious with port forwarding because each open port increases exposure. If you need remote access, prefer a VPN or an authenticated reverse-proxy rather than exposing services directly, and ensure a firewall is active on both the server and the router to enforce rules.
Follow a simple security checklist before placing the server into everyday use.
- Install only required services and remove or disable defaults you will not use.
- Enable automatic security updates where available and schedule manual maintenance checks.
- Use SSH keys for remote shell access and disable password authentication for SSH if possible.
- Create strong, unique passwords or passphrases and enable two-factor authentication for services that support it.
- Regularly review logs and set up basic monitoring or alerting for suspicious activity.
Data protection and backups are not optional because hardware eventually fails and human error happens. Use a two-stage strategy: keep an on-site copy for speed and an off-site or cloud copy for disaster recovery. Consider filesystem snapshots or versioned backups to recover from accidental deletion or ransomware. While RAID can provide redundancy, it is not a substitute for backups, so plan and test restores periodically to confirm your system really can recover from a loss.
Finally, maintain your server with a regular routine of updates, log review and small tests of key functions such as backup restores and service availability. Document passwords, configuration settings and recovery steps in a secured place and keep the server physically secure from accidental interference. If you want more step-by-step walkthroughs on related projects, see the other how-to guides on Build & Automate for practical follow-ups and checklists. For more builds and experiments, visit my main RC projects page.
Comments
Post a Comment