RC electronics troubleshooting for beginners: a practical starter guide
Getting started with RC electronics troubleshooting can feel daunting, but a calm, methodical approach removes most of the mystery for a beginner. This guide focuses on practical checks you can perform without specialist experience, explains common failure modes, and highlights simple tools and safety habits that prevent further damage. The aim is to get you comfortable identifying the likely cause of a fault and deciding whether to repair, replace or ask for help.
Before you begin, always follow basic safety routines to protect yourself and the equipment. Disconnect batteries when fitting or removing components, remove propellers or wheels when running motors on a bench, and avoid shorting connectors. Take photographs or notes of wiring before unplugging anything so you can restore the original configuration if needed. A methodical start saves time and prevents accidents.
- Multimeter for voltage and continuity checks.
- Battery checker and LiPo balance charger for cells and health assessment.
- Spare servo and receiver to swap components for fault isolation.
- Small screwdriver set, needle-nose pliers and heat-shrink tubing for repairs.
- Servo tester or simple bench power supply for bench checks.
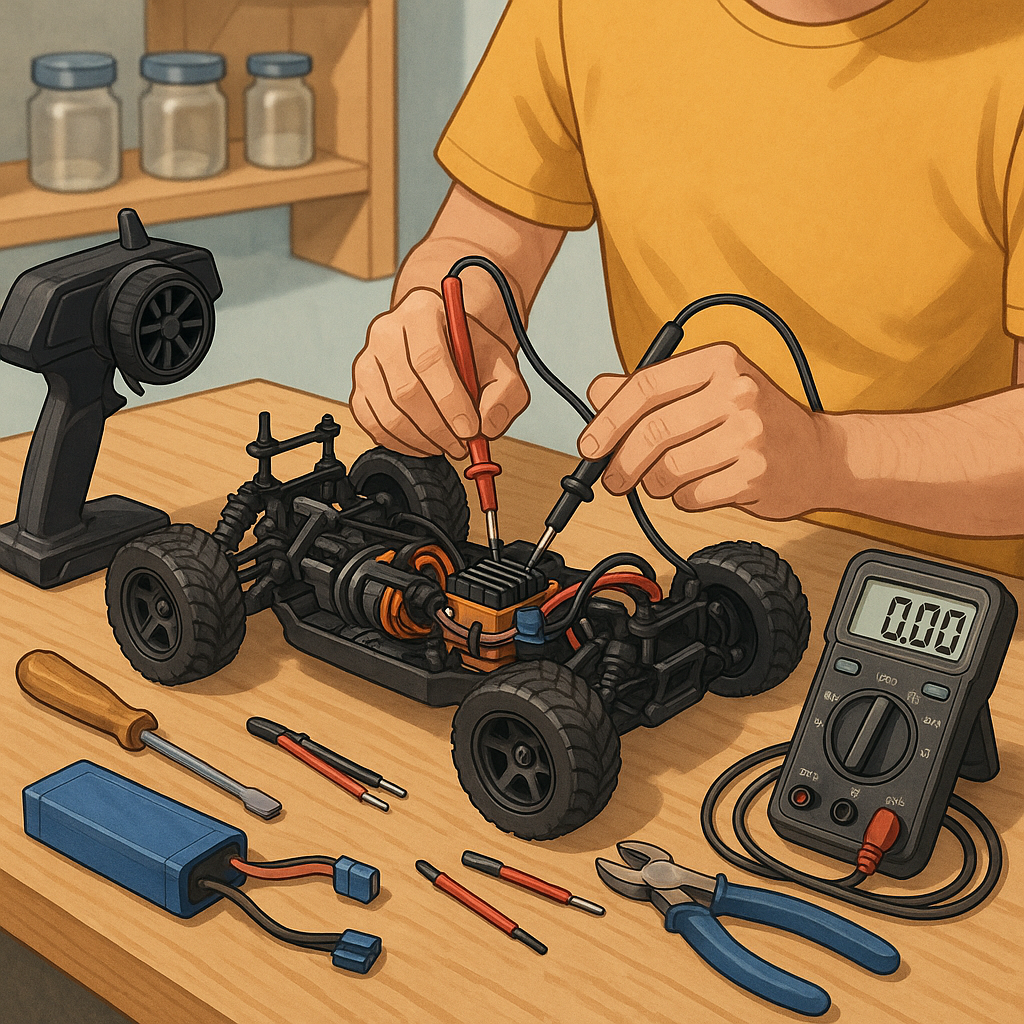
Begin troubleshooting with the power system because most faults come from batteries, connectors or the ESC. Measure battery voltage at rest and under slight load to detect sagging cells, and check balance leads to confirm pack health. Inspect connectors and solder joints for signs of heating, corrosion or breaks. If a battery voltage is significantly below its nominal value or a cell is out of balance, do not attempt to run motors from it and consider safe disposal or reconditioning following manufacturer guidance.
If power checks are satisfactory, move to the electronic speed controller and motor. Many ESCs have programming or calibration routines; consult the manual to ensure the throttle range is correctly recognised. On the bench, power the ESC without a propeller and use a known-good receiver or servo tester to send throttle input, listening for the ESC’s motor armature calibration beeps that indicate normal start-up. If a motor hums but does not spin, check for mechanical binding, loose magnets or damaged windings, and try the motor on a different ESC to isolate the fault.
Radio and receiver issues often masquerade as random faults. Confirm the transmitter and receiver are bound, check antenna condition and position, and test for failsafe behaviour by turning the transmitter off and watching the model respond as expected. Interference can cause erratic control; move to a different location to rule out radio noise, and ensure robust receiver mounting and decent antenna orientation on the model to maximise signal reliability.
Servos and control linkages are simpler to test but are a frequent cause of poor behaviour. Physically inspect horns, clevises and linkages for slop or binding, and verify servo travel and centring with a transmitter or bench tester. Replace any servo that draws excessive current, runs hot, or produces inconsistent positions under load. Keep a set of spare, known-good servos handy because swapping in a spare is the fastest way to confirm whether a servo is at fault.
Take a systematic approach: test one subsystem at a time, swap in known-good components, and record results so you build a fault tree rather than guessing. If a fixed procedure does not resolve the problem, photograph wiring and post clear descriptions when asking for help so others can reproduce the issue mentally. For more Maker projects and practical tutorials that pair well with these troubleshooting steps see the Maker & DIY tag on the blog. For more builds and experiments, visit my main RC projects page.
Comments
Post a Comment