Practical checklist for DIY workshop organisation
A well organised workshop reduces frustration, improves safety and makes it easier to finish projects cleanly and on time. This checklist guide focuses on practical steps you can take with modest investment and common tools to create defined work zones, logical storage and a maintenance routine that keeps the space usable. The aim is to make every project start with a clear plan and the right equipment in reach rather than hunting for bits and tools at the last minute.
Start by surveying the space and deciding what you need from it depending on the kinds of projects you do. Note items that require fixed services such as dust extraction, ventilation or significant power, and decide on safe distances for flammables and high-heat tools. Sketch a simple floor plan that places heavy and immobile tools against walls, leaving central space for assembly and movement. Consider lighting, electrical outlets and the direction of natural light to reduce glare while you work.
Use a short, practical checklist to guide changes and keep the overhaul manageable. Work in short, focused phases so each improvement is complete and sustainable before you move on to the next item. The following list covers the most common items that make a workshop both more usable and safer.
- Declutter and inventory all tools and materials to identify what to keep, sell, donate or recycle.
- Create zones for cutting, assembly, finishing, storage and hazardous materials.
- Install fixed storage for heavy tools and mobile storage for small tools and consumables.
- Designate an area for measuring and marking with clear surface and good lighting.
- Set up dust extraction, ventilation and a proper waste disposal system for offcuts and hazardous materials.
- Provide clear, labelled storage for fasteners and small parts with gravity or drawer organisers.
- Establish regular maintenance tasks for tools and machines with a visible calendar.
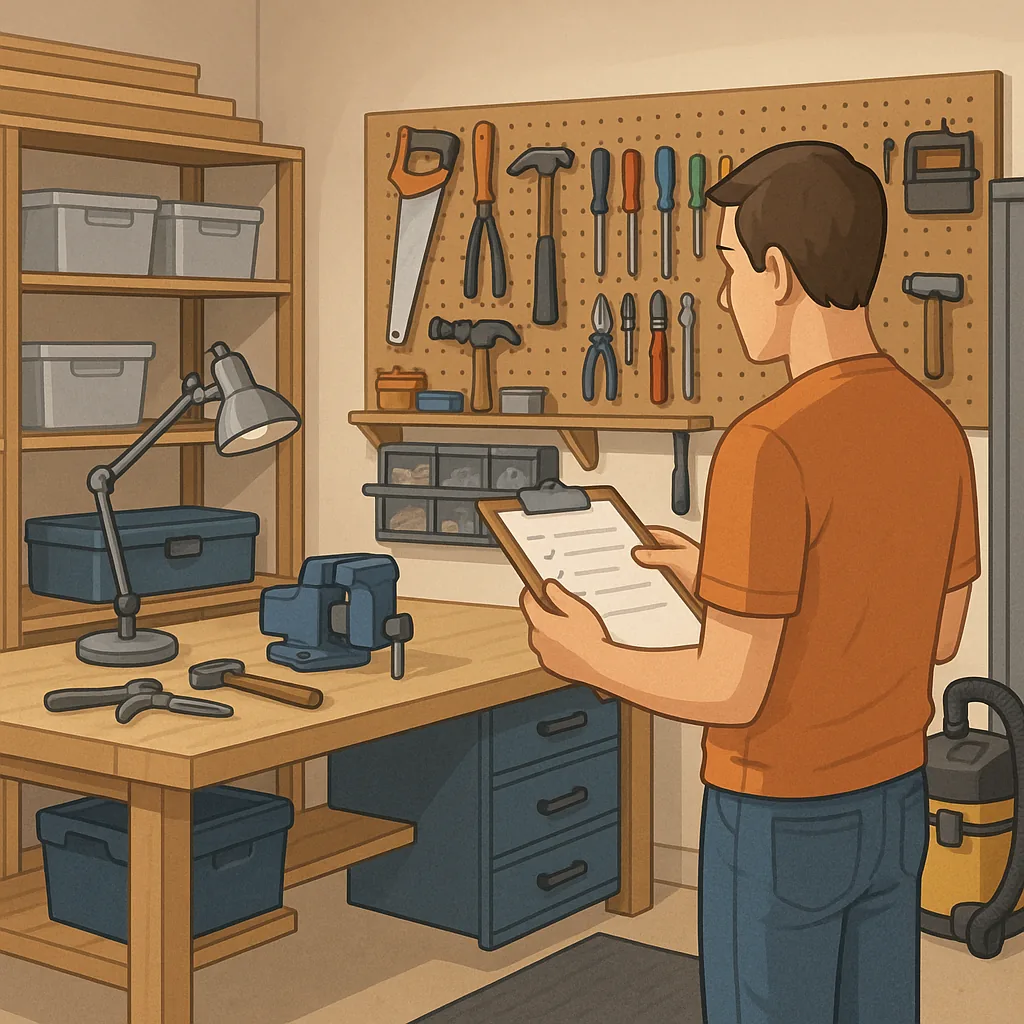
Tool organisation is where you will feel the difference most quickly so prioritise it. Keep frequently used hand tools on a pegboard or in a shallow drawer near the main bench so you can reach them without leaving the work area. Group tools by task rather than type when it helps workflow, for example keeping all measuring and marking tools together. For power tools, use cases or fixed charging stations to protect batteries and chargers and to make sure everything is ready to go.
Storage needs to be visible and simple to maintain. Transparent or labelled containers save time when searching for parts, and shallow stackable drawers work well for screws and small fittings. For larger items consider wall racks or ceiling storage to free up floor space but ensure heavy items are secure and reachable with a step ladder. Fasteners should be categorised by size and type, and replenishment levels noted so you do not run out mid project.
Safety is non negotiable and should be built into the organisation plan rather than tacked on afterwards. Keep personal protective equipment such as goggles, hearing protection and respirators in a dedicated, easy to reach spot. Store flammable liquids and chemicals in a purpose made cabinet and label them clearly. Fit fire extinguishers suitable for the materials you use and perform a quick evacuation check so everyone knows the exit routes and assembly points.
Finally, create routines and a simple maintenance plan so the improvements last. End each session with a five to ten minute tidy that returns tools to their places and clears the bench for the next project. Schedule a weekly sweep to remove dust, check filters and empty waste containers, and a monthly inspection to tighten fasteners, check belts and look for wear on consumables. For further practical projects and organisational ideas see the Maker & DIY tag on this site at Maker & DIY tag. For more builds and experiments, visit my main RC projects page.
Comments
Post a Comment