RC electronics troubleshooting: a step-by-step guide for makers.
Step 1 — scope and approach. This tutorial focuses on common faults in hobby remote-control models including aeroplanes, cars and multirotors and explains a systematic approach to isolate faults from power to signal paths. The aim is to avoid guesswork by breaking the system into testable blocks so you can find whether an issue is caused by the battery, electronic speed controller, motor, receiver, servos, wiring or connectors.
Step 2 — safety and preparation. Always work on a clean, well-lit bench and remove propellers or wheels before powering anything for tests. Use eye protection when soldering and have a fire extinguisher or sand bucket nearby for battery incidents. Label and document each connector before you unplug it so rebuilding is straightforward. If you are not confident with LiPo batteries or high-current wiring, seek help from a local club or experienced friend.
- Multimeter with continuity and voltage functions.
- Servo tester or spare receiver and transmitter for substitution tests.
- Soldering iron, heatshrink and basic hand tools.
- Spare connectors, small screwdrivers and tweezers.
- Inspection lamp or magnifier and small brush for cleaning.
Step 3 — visual inspection and baseline checks. Start with a careful visual check for chafed insulation, loose pins, burnt components, swelling on battery cells and signs of water ingress. Smell for burnt electronics which often indicates a shorted ESC or motor winding. With the battery disconnected, use a multimeter on continuity to check for obvious shorts between positive and negative rails. Reconnect a known-good battery and measure the open-circuit voltage at the pack to ensure cell voltages are within safe limits before proceeding to powered tests.
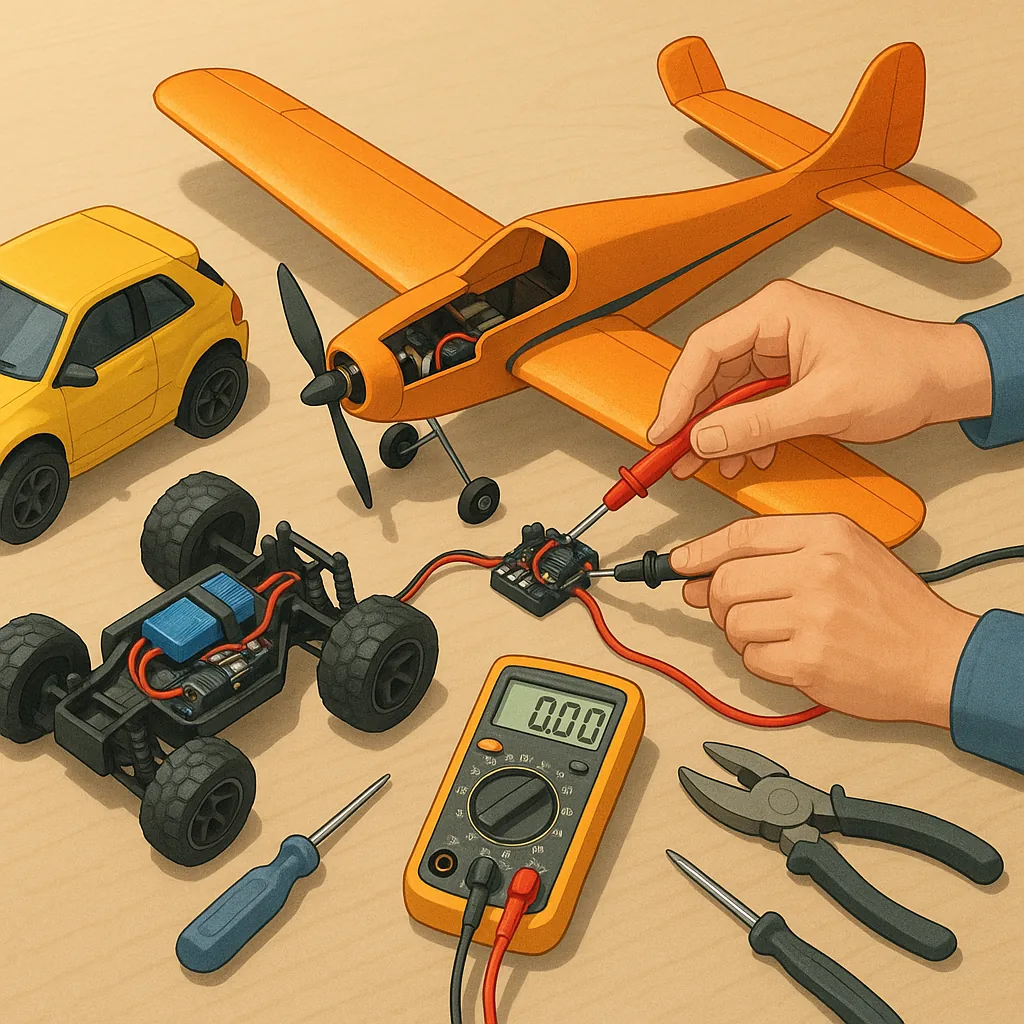
Step 4 — test the power path. Measure voltage at the ESC input under no-load and light-load conditions to spot voltage sag. If voltage drops significantly when the system is turned on, the battery or connectors may be at fault. Inspect the BEC or UBEC output for stable 5 to 6 volts for receivers and servos. For trouble with motors not spinning, temporarily power the motor directly through the ESC with prop removed to check ESC arming and motor response, or use a bench power source to spin a brushed motor carefully while observing current draw to detect a locked or shorted winding.
Step 5 — isolate the radio and servos. Check the transmitter and receiver bind status and ensure they are on the correct model memory and frequency band. Use a servo tester or swap servos to known-good channels to see whether erratic movement follows the servo or stays on the channel, which reveals whether the fault is in the servo or the receiver. Inspect antenna placement and shielded wiring for damage when range or intermittent control is the problem, and test with the model tied down so that full-range checks can be done safely.
Step 6 — motor, ESC and sensor diagnostics. For brushless motors, confirm correct three-phase wiring and check that the ESC firmware and timing settings match the motor type. A sensorless brushless motor that fails to start may need the motor spun by hand while the ESC applies initial pulses to establish back-EMF. Check for rotor rubbing against the stator and ensure bearings are free. For brushed motors, measure resistance across brushes and armature and clean or replace worn components. If an ESC overheats rapidly or emits smell or smoke, retire it and replace rather than attempting complex repairs. For more builds and experiments, visit my main RC projects page.
Step 7 — verification, logging and maintenance. After each repair or adjustment, perform a controlled functional test with propellers removed and model restrained, then do a short tethered test flight or run. Keep a simple log of symptoms, tests performed and voltages or currents observed so you can spot patterns if the fault recurs. Replace fragile connectors with gold-plated or soldered joints and protect soldered joints with heatshrink to prevent intermittent failures. For more project examples and community guidance look at the Maker & DIY tag on this site at Build & Automate Maker & DIY posts for related tutorials and tips.
Comments
Post a Comment