Practical tips for basic soldering and wiring reliability
Reliable soldering and wiring are the foundation of any successful maker project, from simple LED circuits to more complex control boards. Good technique saves time, prevents intermittent faults and keeps repairs manageable, which is especially important for devices you expect to maintain or iterate. This guide focuses on practical tips and tricks you can apply immediately, whether you are just starting or revisiting fundamentals, so you can avoid common failure modes such as cold joints, broken strands and poor strain relief.
Begin with the right tools and preparation to make reliability easy to achieve. Choose a temperature‑controlled soldering iron with replaceable tips and keep several tip sizes on hand to match the work, and use a brass wool or damp sponge to clean the tip regularly. Select solder appropriate for the job; leaded 60/40 solder wets more readily and is easier for beginners, while lead‑free alloys are common in finished products and require slightly higher temperatures. Use flux when joints are not pre‑fluxed, and strip and tin stranded wire before inserting it into pads or crimp connectors to reduce fraying and improve heat transfer.
- Set your iron to the right temperature for your solder and board material to avoid scorching or cold joints.
- Keep the tip clean and well‑tinned so heat transfers efficiently to the joint.
- Use flux to encourage proper wetting and to remove oxides from pads and wires.
- Tin wires and pads so solder flows smoothly and forms a good mechanical bond.
- Provide strain relief and insulation with heat‑shrink or cable ties to protect the joint.
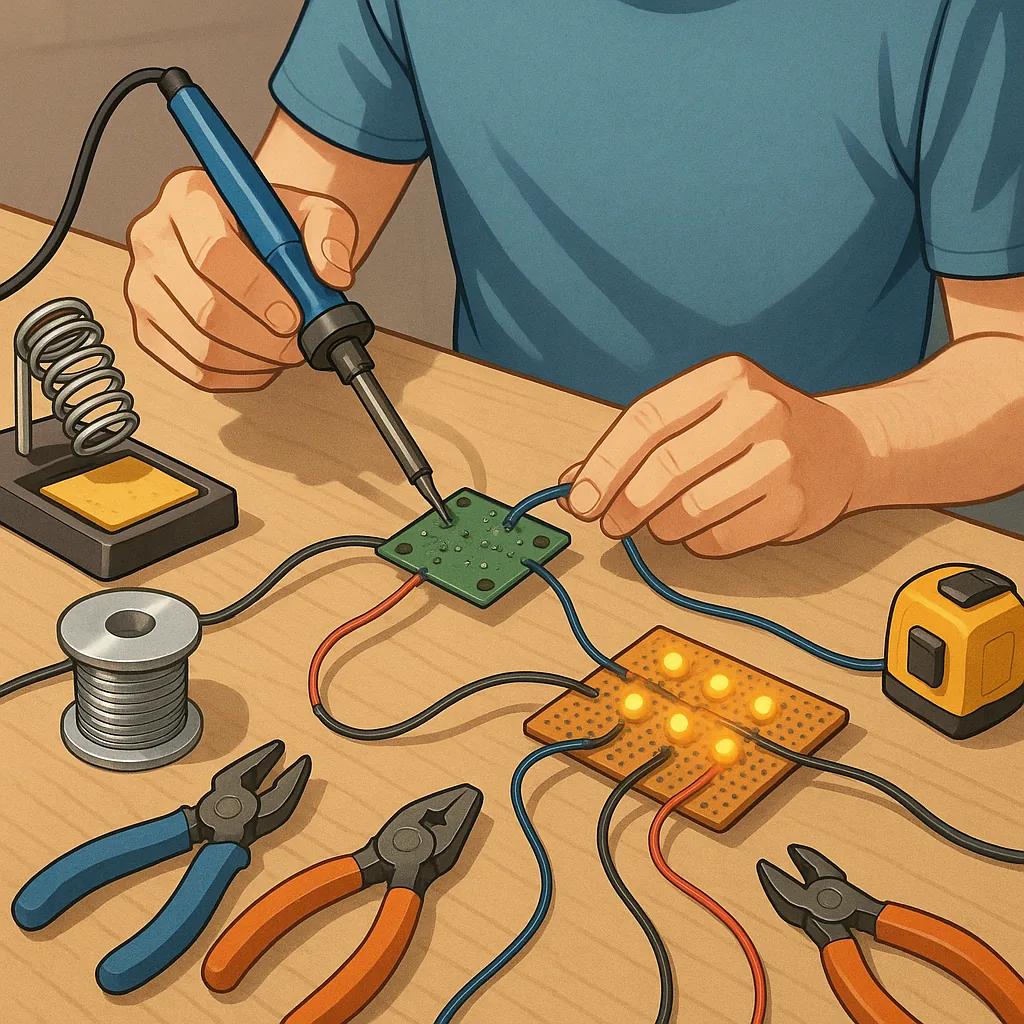
Master the basic soldering technique by heating the joint, not the solder directly. Place the iron tip so it touches both the component lead and the pad or wire simultaneously, heat for a second or two until the surfaces reach the melting temperature, then feed solder into the joint so it flows and wets both surfaces. Remove the solder first, then the iron, and allow the joint to cool undisturbed so a shiny, concave fillet forms. Avoid using the iron to poke solder around as this can produce cold joints and lift pads, and do not overheat electronic components because prolonged heat can damage semiconductors and PCB laminates.
Wiring reliability is more than a good solder fillet, and attention to mechanical details prolongs life under vibration and movement. Use the correct wire gauge for the current, and prefer stranded wire for flexibility when the wire will be moved frequently. Ferrules or crimped ends help when inserting stranded wire into screw terminals, and a dab of hot glue or a purpose‑built cable clamp provides strain relief for connections that will experience pull or flex. Protect exposed joints with heat‑shrink tubing and route wires to minimise sharp bends and chafing against edges.
Inspect and test every joint before final assembly to catch faults early. A visual inspection should show a smooth, shiny joint that fully wets the pad and lead and has no blobs or sharp spikes. Perform a gentle tug test on leads and a continuity check with a multimeter to verify low resistance and the absence of shorts. For mission‑critical or outdoors equipment, consider thermal cycling or vibration testing to reveal intermittent faults, and rework any suspect joints by reheating, adding fresh flux, and applying the correct amount of solder to restore proper wetting.
Maintain your tools and practice deliberately to improve consistency and speed. Replace worn tips, clean and re‑tack the tip with fresh solder to prevent oxidation, and store the iron in a safe holder to avoid accidental burns and damage to work surfaces. Practise on scrap PCB and stranded wire to refine heat timing and solder feed, and keep a small notebook of settings that work for particular solders and boards. For a range of practical Maker & DIY resources on similar topics, see our label page at Maker & DIY. For more builds and experiments, visit my main RC projects page.
Comments
Post a Comment