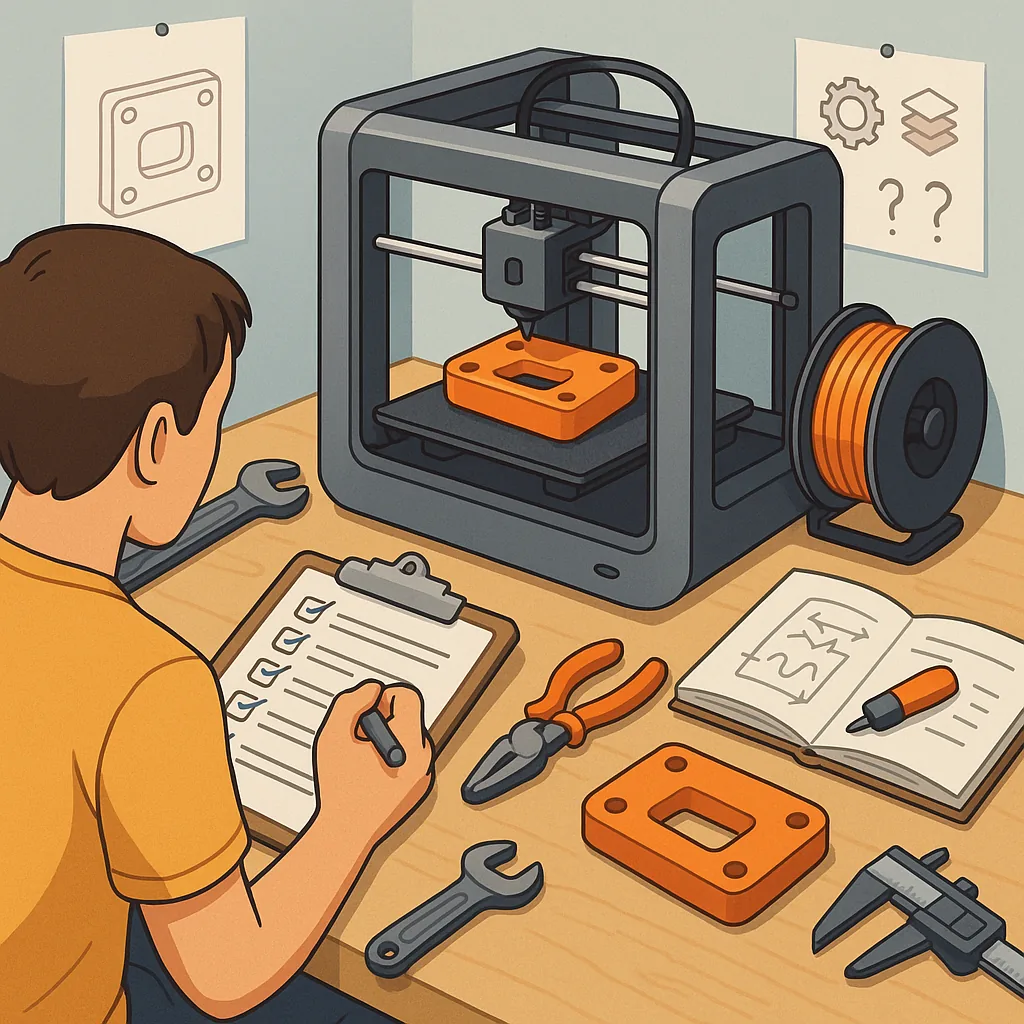
Checklist: 3D printing for functional parts
3D printing for functional parts requires a different mindset to printing toys or visual prototypes, and this checklist guide sets out the practical steps to get reliable results. Start by defining the part's purpose, load cases and environmental conditions so you can translate those requirements into design and material choices. Consider whether the part will bear static loads, cyclic stresses, heat, moisture or chemical exposure as these factors will influence every decision you make later in the process. Establishing clear acceptance criteria up front reduces iterations and wasted filament.
Design with function and manufacturability in mind by applying basic mechanical design principles adapted to layer-based fabrication. Increase wall thickness and add fillets at stress concentrations rather than relying on design complexity to provide strength. Plan for fastening points and for assembly tolerances, and design holes and slots with allowance for the printer's dimensional accuracy. When possible, simplify geometry to reduce the need for supports and to place continuous load paths along printed layers rather than across layer interfaces.
Choose materials and print settings that match the mechanical and environmental demands of the part. PLA is convenient but can creep under load and soften in heat, while PETG offers better impact resistance and temperature tolerance. Nylon and polycarbonate give superior strength and wear resistance but require higher temperatures and careful drying. Set layer height, wall count and infill to suit load paths: thicker shells and more perimeters are often more effective than very high infill for tensile and bending strength. Use conservative print speeds and ensure good bed adhesion to avoid warping and delamination.
Orient parts to align the principal stresses with the strongest axis of the print, which is typically within layers rather than between them. Minimise unsupported bridges and long overhangs to reduce sag and improve dimensional accuracy. Where supports are unavoidable, place them so removal and surface finish impact are acceptable. Consider printing test coupons to evaluate strength in different orientations and to validate infill patterns, because layer adhesion often determines ultimate performance more than nominal filament properties.
Post-processing and validation are essential for functional parts, so factor time for finishing into your build plan. Annealing can improve heat deflection and crystallinity for some materials but may change dimensions, so print oversized where necessary and run controlled tests. Use threaded inserts or helicoils for repeatable fastenings rather than relying on printed threads where possible. For applications requiring sealing or wear resistance, consider vapour smoothing, resin coating, or epoxy impregnation to change surface properties and block moisture ingress. Always perform mechanical testing under realistic conditions before putting a part into service.
- Define function, loads and environmental limits before designing the part.
- Design with fillets, sufficient wall thickness and continuous load paths aligned with print layers.
- Choose material based on temperature, chemical exposure and required toughness rather than printability alone.
- Use more perimeters and targeted infill rather than high infill percentage alone for strength improvements.
- Orient prints to favour in-plane strength and reduce support need for better surface finish.
- Dry hygroscopic filaments and control storage to prevent print defects.
- Plan for post-processing such as annealing, inserts or coatings and test parts after treatment.
- Document settings and outcomes for repeatability and continuous improvement.
Finish by running simple validation tests such as dimensional checks, fit trials and load testing to the acceptance criteria you set earlier, and record both successes and failures so you can refine the process. Treat the first functional print as a prototype that will inform small changes in geometry, orientation or settings rather than as the final item. When you need inspiration or community tips specific to home and hobby makers, see the Maker & DIY tag on this site for related articles and projects. For more builds and experiments, visit my main RC projects page.
Comments
Post a Comment