3D printing for functional parts: a practical checklist for reliable results
Producing functional parts with a 3D printer requires focus on repeatable steps rather than ad hoc experimentation. This checklist guide concentrates on decisions that materially affect strength, fit and longevity, so you can move from prototype to a usable component with fewer surprises. The advice that follows is aimed at hobbyists and small workshops using common technologies such as fused filament fabrication and resin printing, and it assumes you want parts that carry load, align accurately or interface with other hardware.
Start by choosing the correct material for the application, because material selection defines the baseline properties of your part. For load-bearing or heat-exposed components consider engineering filaments like PETG, ABS, Nylon or polycarbonate, or use high‑temperature resins for stereolithography work. Pay attention to moisture sensitivity and storage requirements for filaments such as Nylon and PVA, since damp filament weakens prints. If chemical resistance or electrical insulation is needed, check the datasheet and plan post‑processing steps such as annealing or coating to reach the required performance.
Check and prepare your printer before committing to a long print, because reliable hardware yields predictable results. Level and clean the build plate, confirm nozzle condition and replace any visibly worn parts. Calibrate extrusion multiplier and steps per millimetre to reduce dimensional error, and verify bed adhesion methods for your chosen material, whether it is a heated bed, adhesion sheet or adhesive. For parts with tight tolerances, measure printed calibration cubes and adjust slicer settings to tune XY and Z compensation values.
Design for manufacturability and strength rather than purely for aesthetics to get functional success on the first print. Consider part orientation to place layers perpendicular to the principal load where possible, add fillets to stress concentration points, avoid extremely thin walls and design for standard fasteners or inserts where appropriate. Leave tolerances for press fits and sliding parts based on your machine's empirical performance, and think about splitting complex geometries into separate pieces that are easier to print and assemble.
- Specify minimum wall thickness and shell count suitable for your material and load case, typically at least two perimeters for strength.
- Choose infill pattern and density with the load direction in mind, using higher density or oriented infill for shear or bending loads.
- Use chamfers and radii at load-bearing joins to reduce crack initiation points.
- Design alignment features such as pins and pockets to aid assembly and reduce reliance on adhesive alone.
- Allow clearance for fasteners, heat‑set inserts and any planned post‑processing tolerances.
Tune slicer settings carefully because print parameters dramatically influence mechanical behaviour. Lower layer heights improve surface finish and can marginally increase strength by better interlayer contact, while higher extrusion temperatures often improve interlayer adhesion at the cost of precision. Control print speed and cooling: reduce cooling for materials prone to warping and increase cooling for bridging or overhangs where detail matters. Set retraction and coasting parameters to avoid blobs and maintain dimensional accuracy for mating features.
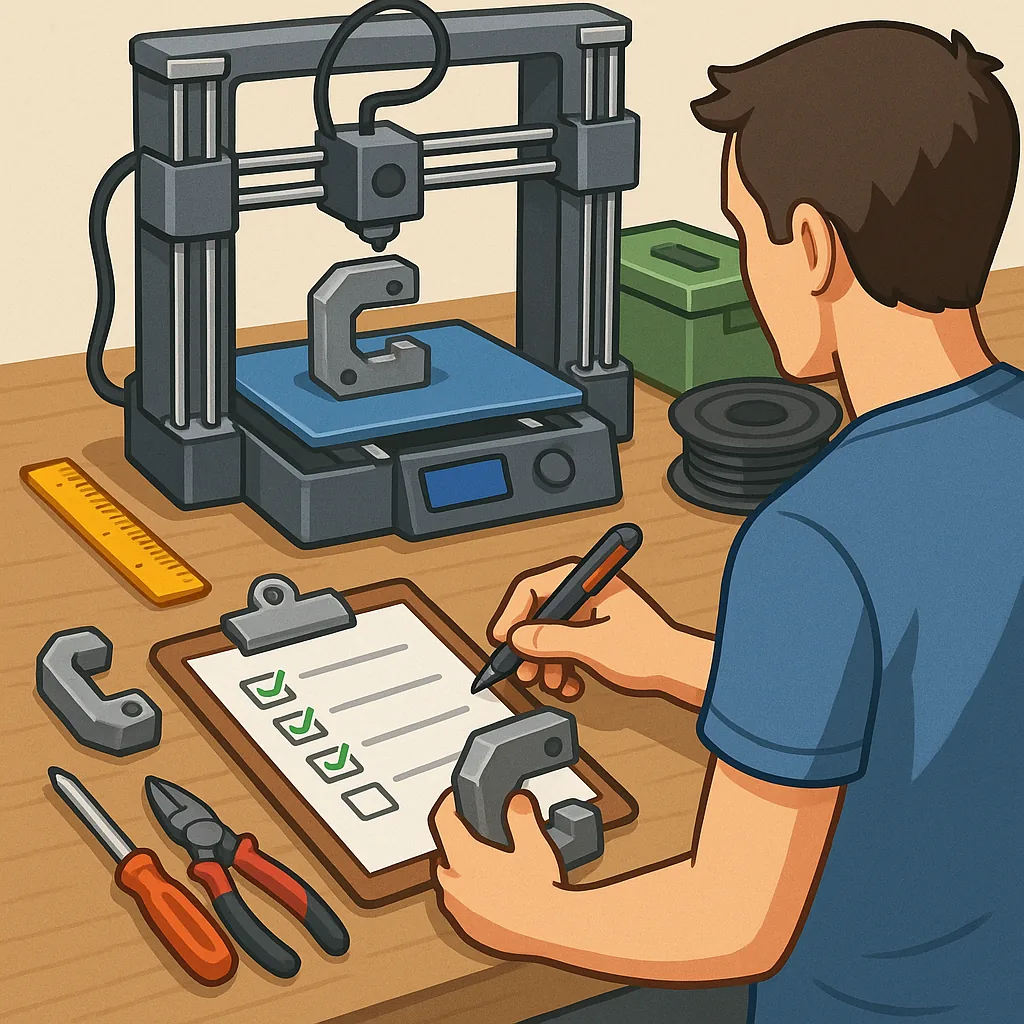
Plan post-processing and verification steps to make parts ready for use, as printing alone rarely yields finished hardware. Techniques include annealing parts to increase thermal resistance, solvent smoothing for leak‑tight components, tapping or installing heat‑set inserts for durable threads, and light sanding or filler for sealing surfaces. Always test parts under controlled conditions before final use: apply the expected loads for a reasonable cycle count and inspect for fatigue, creep or other failure modes, then document the test conditions and outcomes for future reference.
Finish with a short checklist for release and iteration that you can reuse on future projects and share within a workshop. Confirm material batch and storage state, ensure printer calibration, verify orientation and slicer settings, run a validation print of critical features and perform the intended load tests before sign‑off. For additional practical projects and community notes related to this approach see the Maker & DIY label for ideas and examples you can adapt to your workflow. For more builds and experiments, visit my main RC projects page.
Comments
Post a Comment