ESP32 beginner projects: tips and tricks for starting small and scaling safely
Getting started with ESP32 beginner projects is rewarding because the chip packs Wi‑Fi, Bluetooth and plenty of I/O into a cheap, widely available module, which makes it ideal for home automation, sensors and wearable experiments. This guide focuses on practical tips and tricks that will save time, avoid common pitfalls and help you move from a single prototype to a reliable, repeatable build. Aim to complete a small working example before adding complexity so you can isolate issues as they arise.
Choose the right development board and components for the project rather than the cheapest available option, because features and pinouts vary between boards. Check flash size and PSRAM on the datasheet if you plan to use graphics, camera modules or large buffers. Prefer boards with a USB‑to‑serial chip and an on‑board regulator capable of supplying current spikes when Wi‑Fi transmits. Keep a copy of the pinout diagram and schematic to hand when wiring sensors, displays and power supplies because many boards expose the same GPIO numbers in different physical locations.
Set up your toolchain with reproducibility in mind by deciding whether you will use Arduino IDE, PlatformIO or the native ESP‑IDF, then stick with that choice for the duration of the project. Install the correct USB drivers and the board support package, and test the serial connection with a simple blink or LED toggle sketch to confirm uploads are functioning. Use a version control system for code and keep a separate configuration file for Wi‑Fi credentials and API keys so secrets are not accidentally pushed to repositories. When updating libraries or SDKs, test builds on a copy of the project to avoid breaking working code.
- Avoid using flash‑connected pins (typically GPIO6 through GPIO11) because these are wired to the module’s SPI flash and will cause conflicts when accessed directly.
- Be cautious with boot‑strapping pins and review the board schematic before assigning critical functions to pins that affect boot behaviour.
- Provide a stable 3.3V supply and use decoupling capacitors close to the module to handle Wi‑Fi transmission spikes and prevent resets during network activity.
- Use logic level translation when interfacing with 5V sensors or peripherals and protect inputs with series resistors and clamping diodes where appropriate.
- Choose appropriate ADC and touch pins, noting that ADC values can be noisy and require calibration or smoothing for reliable readings.
When networking, start with simple Wi‑Fi examples that show connection state and IP address, then add functionality such as mDNS, static IP or encrypted transport once the basic link is solid. For projects that will receive updates, implement over‑the‑air updates early and test partition schemes and rollback behaviour so you do not brick a device in the field. Store credentials securely using the preferences or secure storage mechanisms provided by your framework, and avoid hardcoding keys in the main firmware image. If you rely on cloud services, design for intermittent connectivity and queue data locally when links drop.
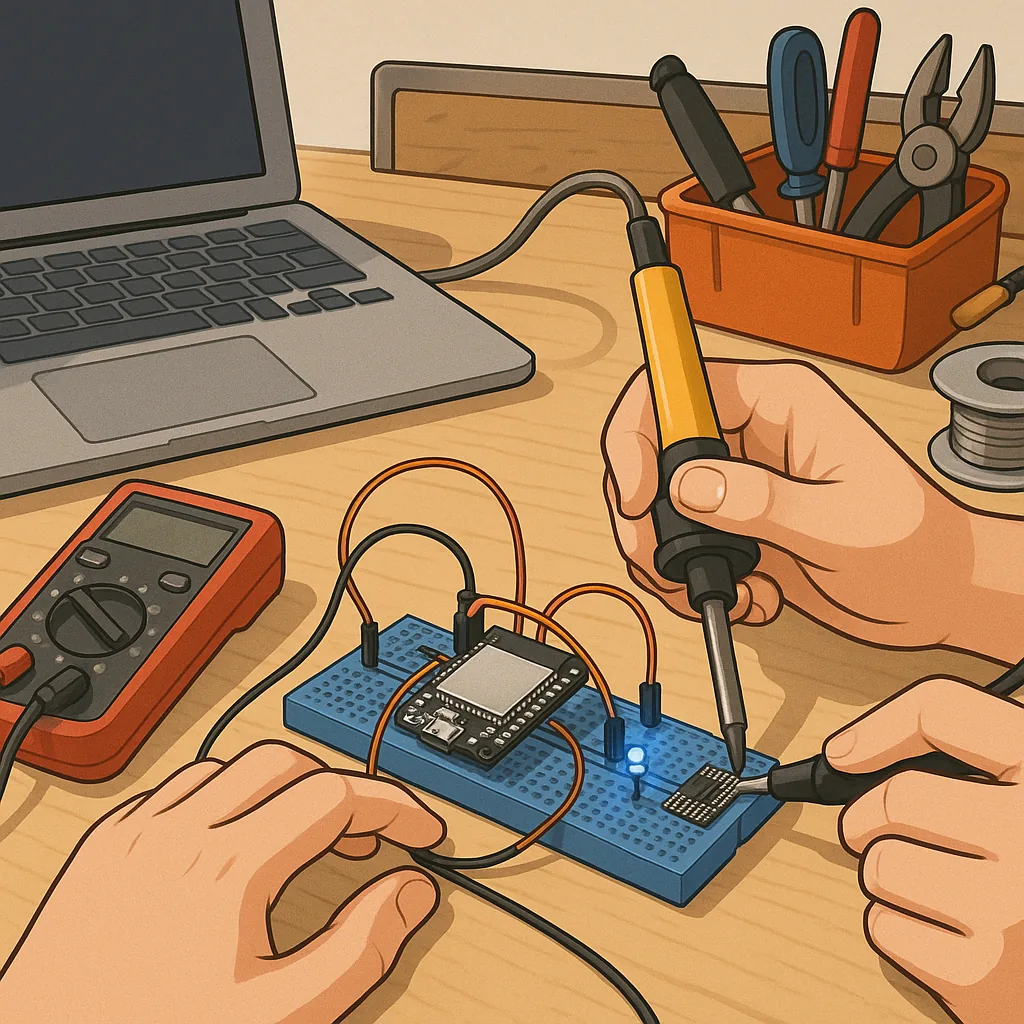
Prototyping on a breadboard is fast but move to a more reliable wiring method before deploying to prevent intermittent faults caused by poor contacts. Consider small perfboard builds, soldered header pins or a simple two‑layer PCB when you need sturdiness. For battery projects, measure sleep and active currents and select a regulator with low quiescent current, then test the entire system to confirm expected battery life. Label connectors and create a wiring diagram to make maintenance easier, and protect fragile components with an enclosure that allows ventilation for any heat‑dissipating parts.
If you need inspiration or specific example circuits to replicate and learn from, see the Maker & DIY tag on this site by following this link: Maker & DIY projects and guides. Community writeups, issue threads and project logs are valuable for learning what methods others used to solve similar problems, and you can adapt those ideas to fit your constraints. Start with one clear objective for each build, iterate in small steps and document decisions so your next ESP32 beginner project is quicker to assemble and more robust in operation. For more builds and experiments, visit my main RC projects page.
Comments
Post a Comment