3D printing for functional parts: a practical troubleshooting guide
When you print components that must perform under load, fit with other parts or last in everyday use, the tolerance for error is much smaller than with decorative prints. This guide focuses on common failures and reliable fixes for 3D printing for functional parts, with practical checks you can run in sequence to identify the root cause rather than chasing symptoms alone.
Bed adhesion and warping are often the first visible problems on functional prints because they affect both geometry and mechanical behaviour. Start by confirming the print bed is level and the nozzle height for the first layer is correct, as an uneven first layer cannot be fixed later. Check that bed and nozzle temperatures match the filament manufacturer's recommendations and that the print surface is appropriate for the material in use, for example glass or PEI for PLA and a heated or taped surface for ABS and PETG. Use a brim or raft for large flat parts to reduce corner lift and verify your build plate is clean and free from oil or dust before each print.
Layer adhesion and interlayer strength determine whether a part will delaminate under load or fail at stress points, so address these before changing geometry or infill. Increase print temperature in small increments to improve fusion between layers, and reduce cooling fan speed for materials that need slower solidification, such as ABS or nylon, while ensuring PLA is not overheated. Print slower for tall thin sections and consider more perimeters or thicker outer walls to move load-bearing from infill to shell where layer bonding is stronger. If parts still crack between layers, check filament moisture and dry it according to the filament type because absorbed water can cause layer weakness and noisy extrusion behaviour.
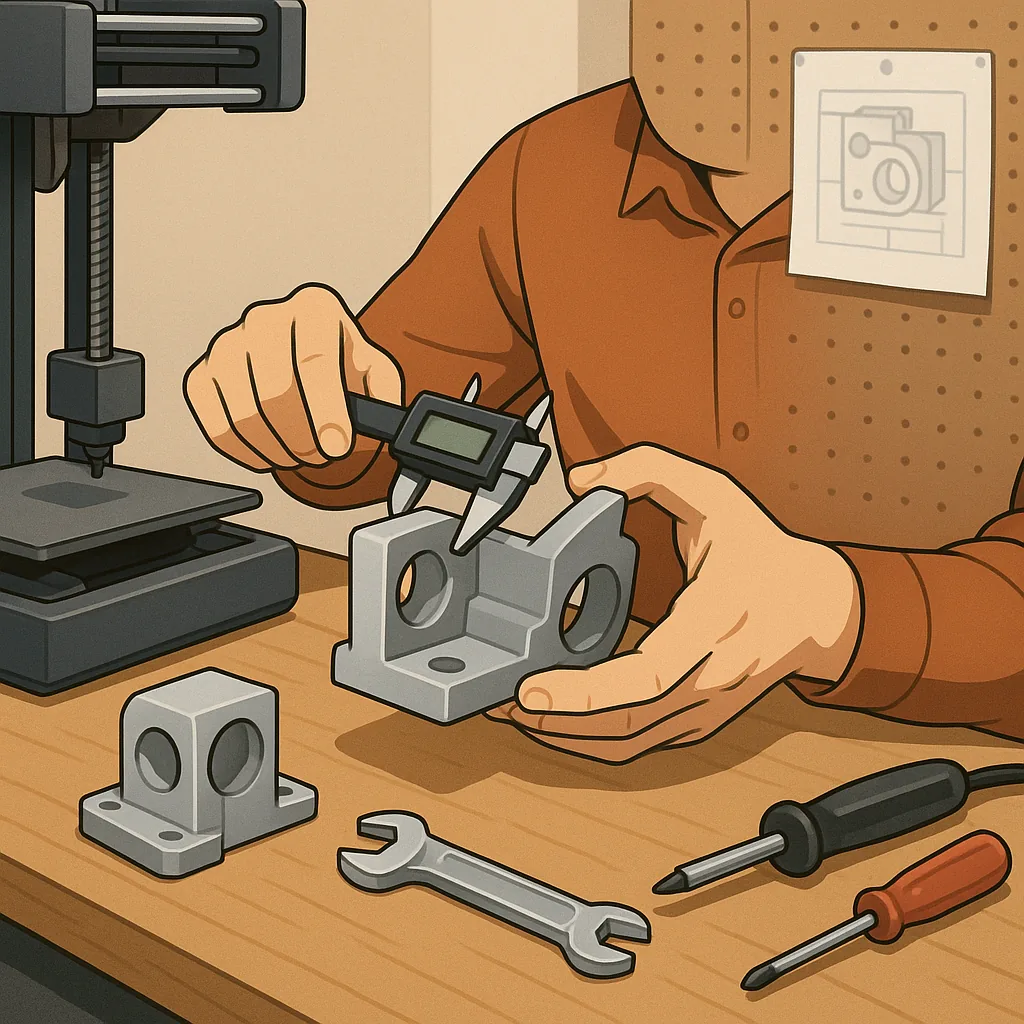
Dimensional accuracy and fit issues are common when mating printed parts with metal fasteners or other components, so calibrate the extrusion multiplier and e-steps on the extruder and run a calibration cube to measure X, Y and Z tolerances. Thermal expansion and filament shrinkage mean you should design small tolerances into holes and pockets rather than relying on zero clearance, with trial prints to establish the correct offset for a given filament and printer. Belt tension, stepper driver microstepping, and slicer retraction settings also influence fine detail, so verify these before altering part geometry or attempting complex compensations in CAD.
Mechanical failures such as brittle fractures or early fatigue often trace back to material choice, print orientation and internal structure rather than single slicer settings. Print orientation should align layer lines with expected stress direction to avoid splitting under load, and increasing the number of perimeters or adding continuous fibres where appropriate will concentrate strength in the shell. Consider materials better suited to functional use like PETG, ABS, ASA or nylon for impact or chemical resistance, and use heat-set or threaded brass inserts where repeated assembly is required to avoid stripping the printed threads.
- Quick checks: verify nozzle diameter and condition to rule out partial clogs affecting flow.
- Calibration: print single-wall test pieces to tune extrusion multiplier and wall thickness for accurate mechanical surfaces.
- Strength: increase shell count or switch to higher infill percentage for load-bearing sections.
- Fitment: design tolerances of +0.2 mm to +0.5 mm for press-fit parts, adjusted by filament and printer.
- Post-process: use annealing or epoxy infiltration for parts that need extra toughness or heat resistance.
Routine maintenance and iterative testing are the final pillars of reliable functional prints, and a short checklist will save time over repeated trial and error. Clean the extruder and check the filament path for snags, perform PID tuning for stable hot-end temperature, and keep your slicer profile under version control so you can revert changes quickly if a setting introduces a problem. Log print parameters for the part that worked and for those that failed so you can compare layer height, speeds, temperatures and cooling behaviour when diagnosing a new issue, and consult related Maker & DIY posts on the blog for project examples and community tips at Build & Automate's Maker & DIY label. For more builds and experiments, visit my main RC projects page.
Comments
Post a Comment